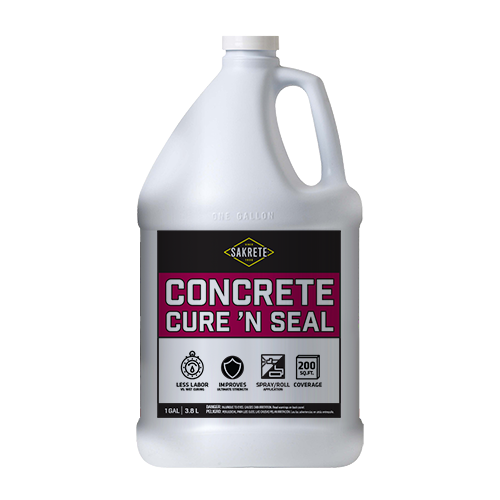
Products Used
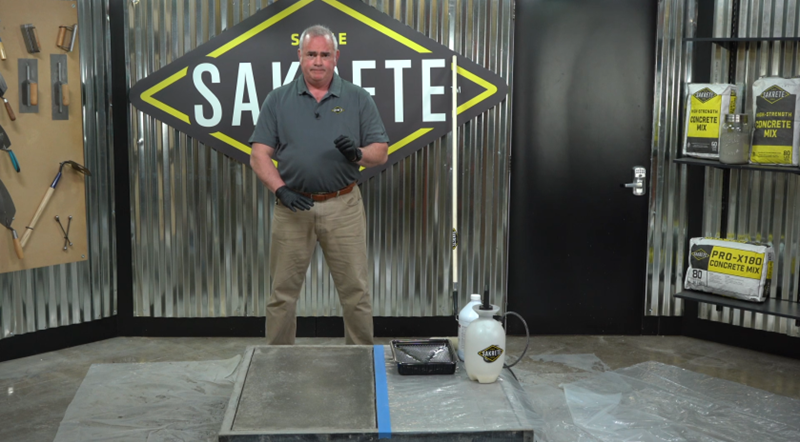
Tools Needed
- PPE – N95, nitrile gloves, eye protection
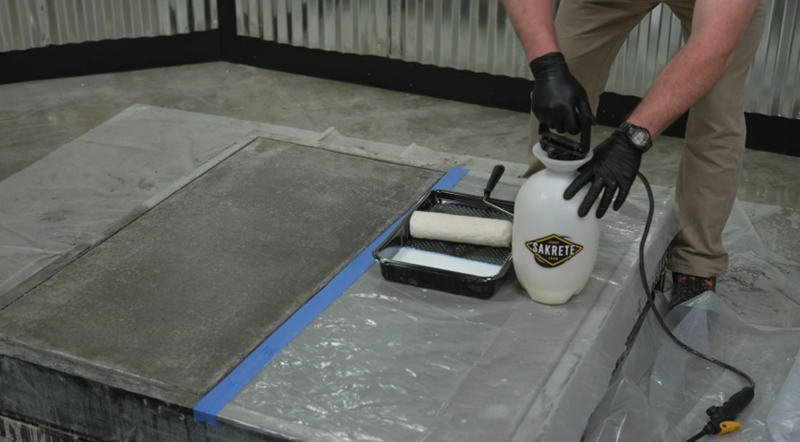
- Hand sprayer
- 1/2″ Roller nap with frame
- Paint tray
Project Level: easy
Project Length: 1 hour
Sakrete Pro Tips | How to Cure and Seal Concrete
In the realm of concrete construction, curing is the final, yet pivotal, stage. It’s a process that allows the concrete to fully harness its potential. By maintaining the moisture of the freshly placed concrete, curing completes the hydration process. This results in proper hardening and the attainment of the desired strength and durability. It also ensures that the concrete exhibits uniform strength throughout the structure and enhances its resistance to abrasion.
However, improper curing methods can lead to a variety of issues, including concrete cracking, efflorescence, scaling, spalling, staining, and a decrease in strength, among others. These issues can be effectively addressed if the individual pouring the concrete adheres to the correct procedures and utilizes Sakrete Cure ‘N Seal in the process.
Concrete Cure ‘N Seal is a necessary product used in the concrete pouring process. Cure ‘N Seal provides many benefits such as facilitating proper curing, minimizing need for wet curing, providing a protective layer for concrete, reducing cracking and increasing final strength and longevity.
Project Tip: It's important to spray on or roll on, but DO NOT pour on.
Project Tip: One gallon of Cure 'N Seal will cover approximately 200 sq. ft.
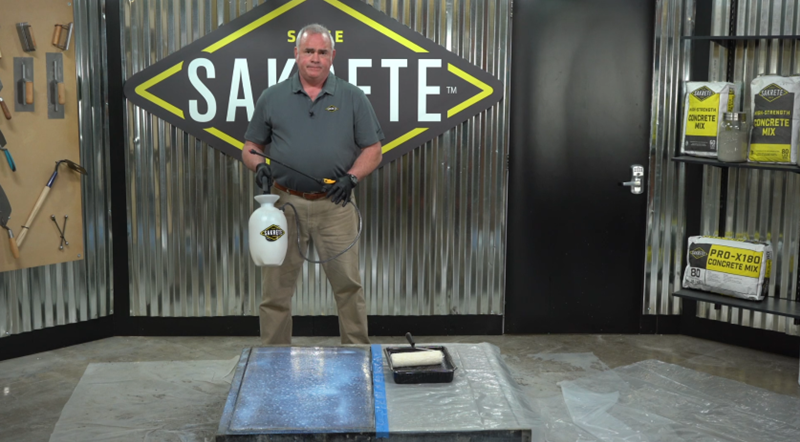
Project Tip: Proper curing is all about controlling evaporation rate.
Enter An Email To Send These Results.