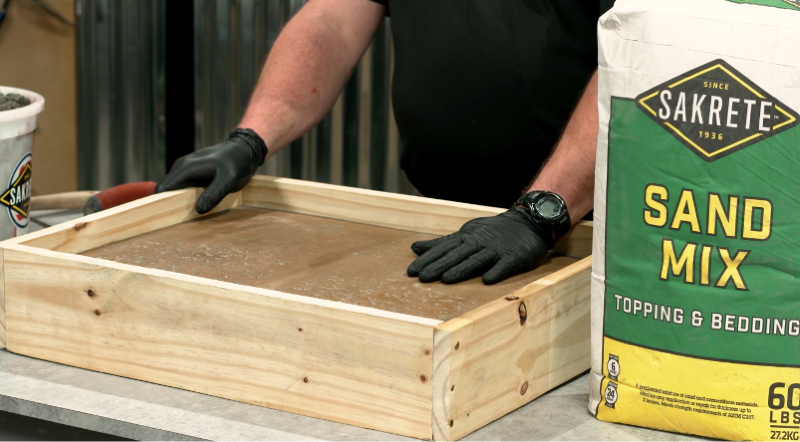
Products Used

Tools Needed
- Graduated bucket
- Drum mixer or wheelbarrow for mixing
- Concrete hoe
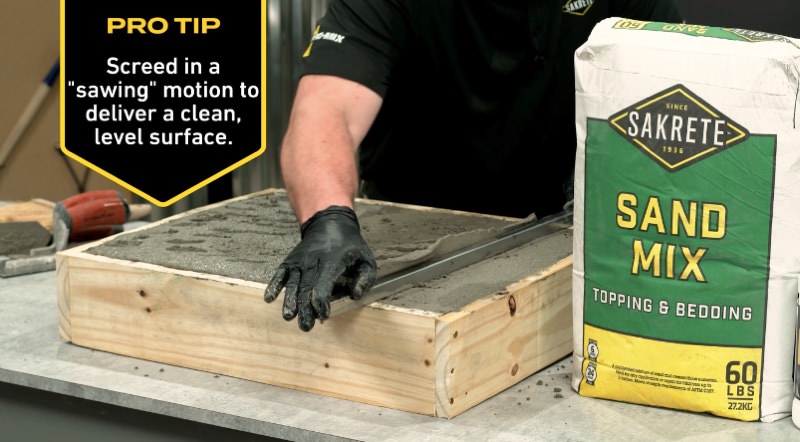
- 2’x6’ lumber for forms and screeding – choose 2’x12’ lumber if pouring a slab deeper than 4”
- Bull float
- Edging tool
- Grooving tool
- Magnesium float
- Concrete broom