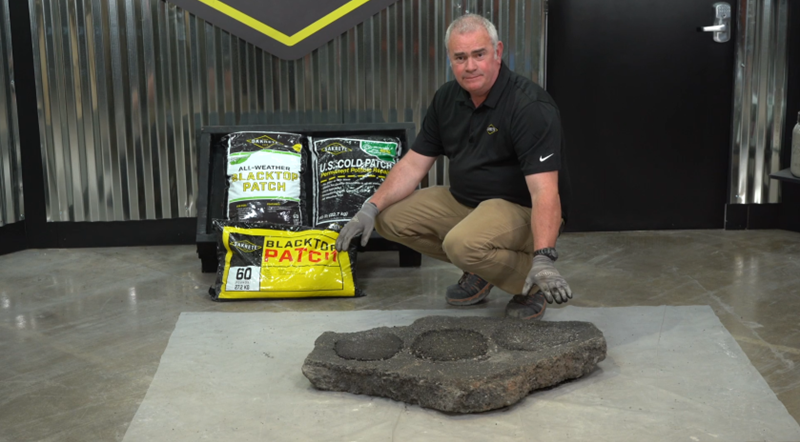
Products Used


Tools Needed
- PPE – N95, nitrile gloves, eye protection
- Chisel
- Chipping hammer
- Brush or broom
- Tamper or 4×4
Project Level: easy
Project Length: 30 minutes
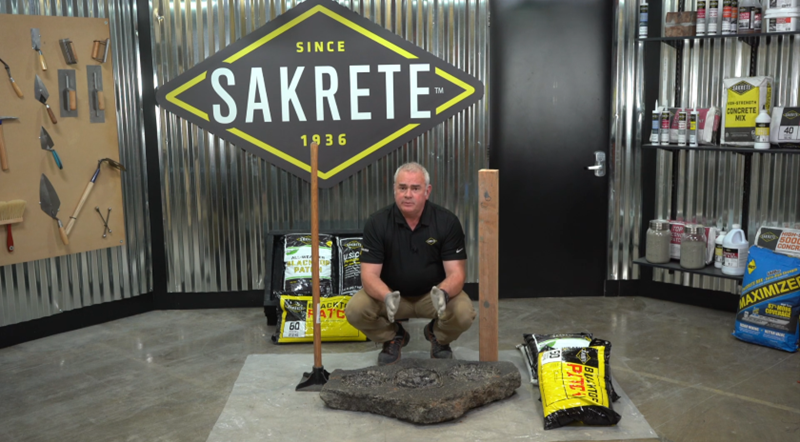
Sakrete Pro Tips | How to Repair Asphalt
Safety Notes: Read and understand the SDS before using this product. Wear protective clothing and equipment. Keep out of reach of children.
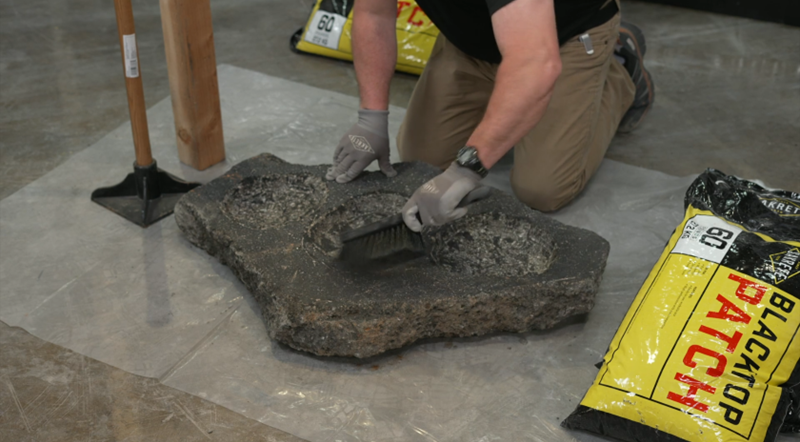
Project Tip: Chiseling out edges of pothole ensures a proper bond.
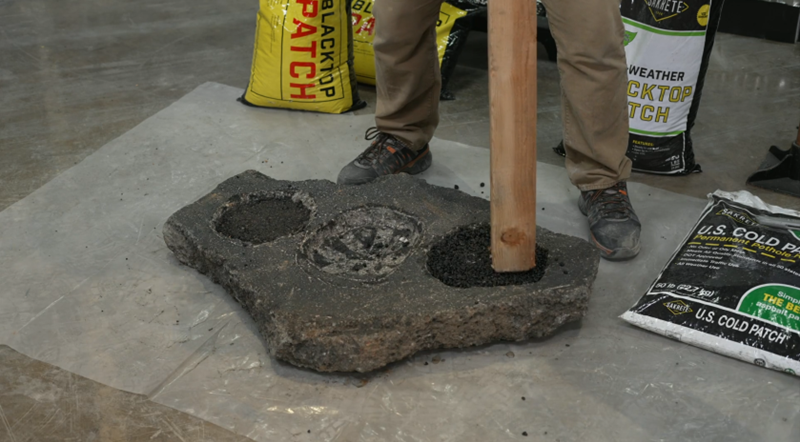
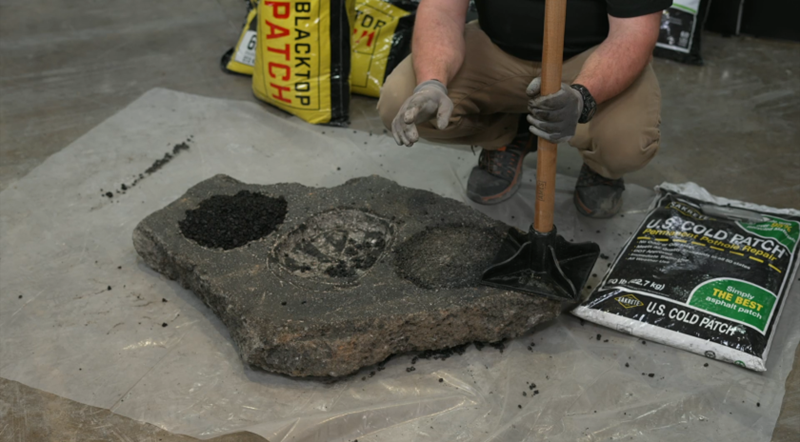
Project Tip: Insufficient compaction is the #1 mistake with blacktop repair.
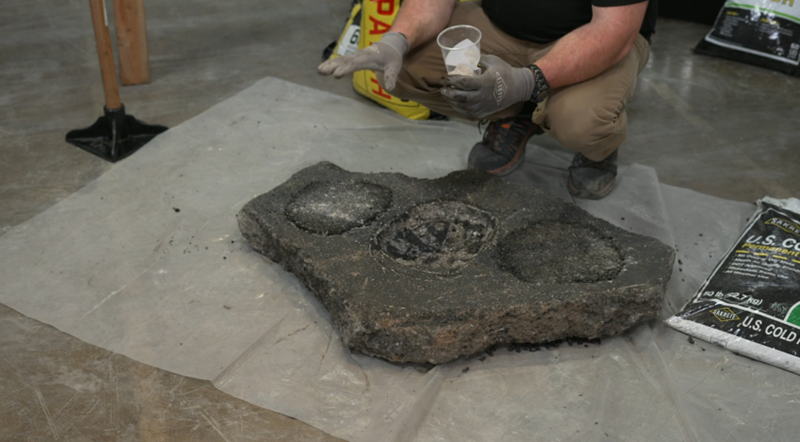
Project Tip: Applying a thin layer of sand helps to prevent tracking.
Enter An Email To Send These Results.