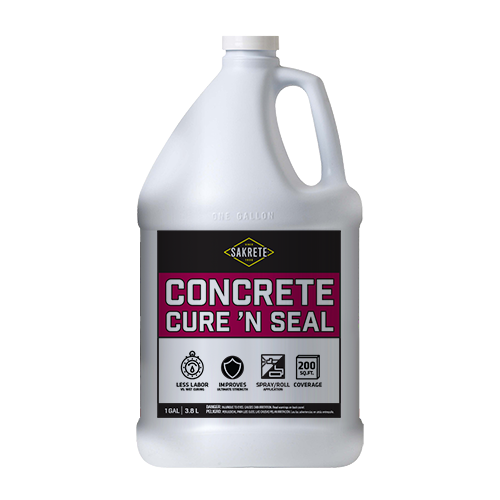
Products Used
Tools Needed
- PPE – N95, nitrile gloves, eye protection
- Hand sprayer
- 1/2″ Roller nap with frame
- Paint tray
Project Level: moderate
Project Length: 1 hour
Sakrete Pro Tips | How to Cure and Seal Concrete
If you’re working with concrete, there’s one step in the process that you simply can’t afford to skip: sealing. Concrete sealer is more than just an optional add-on—it’s a vital component that ensures the longevity and durability of your concrete project. Whether you’re laying a new patio, building a driveway, installing a concrete countertop, or bringing old concrete back to life, sealing your concrete is a crucial step that will protect your investment and enhance its appearance.
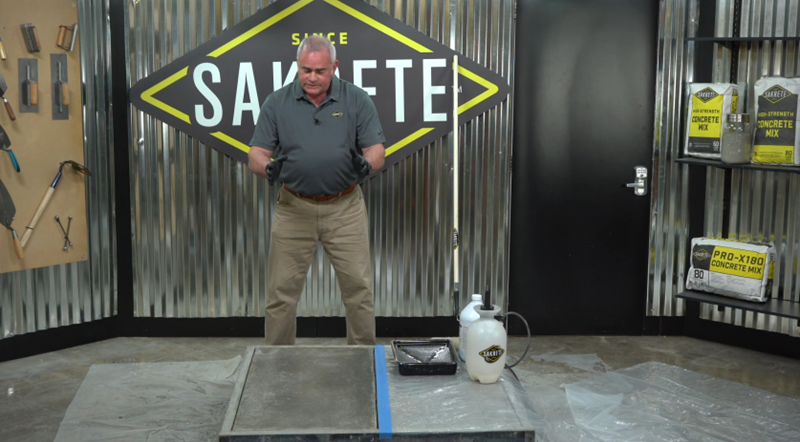
Project Tip: Spray on or roll on, but do not pour on.
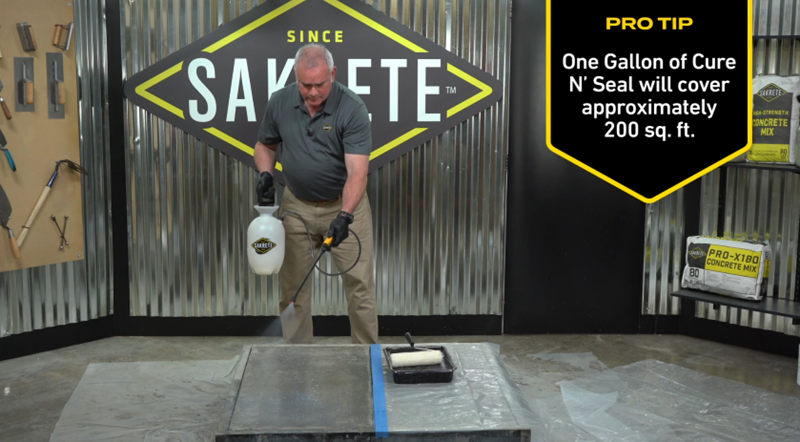
Project Tip: One gallon of Cure 'N Seal will cover approximately 200 sq. ft.
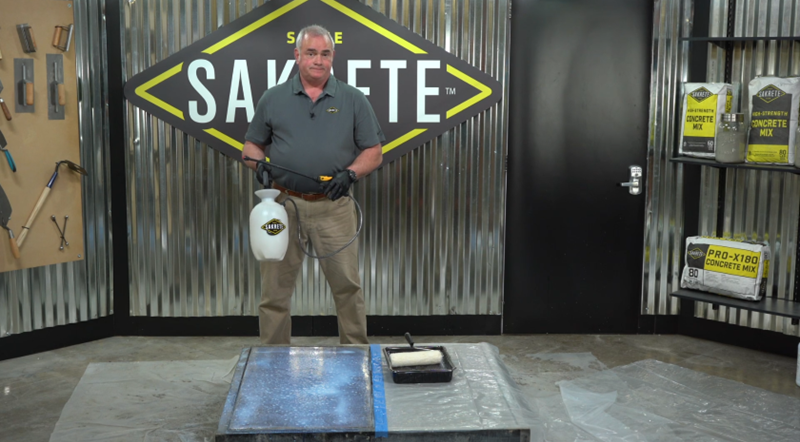
Project Tip: Proper curing is all about controlling evaporation rate.
Enter An Email To Send These Results.