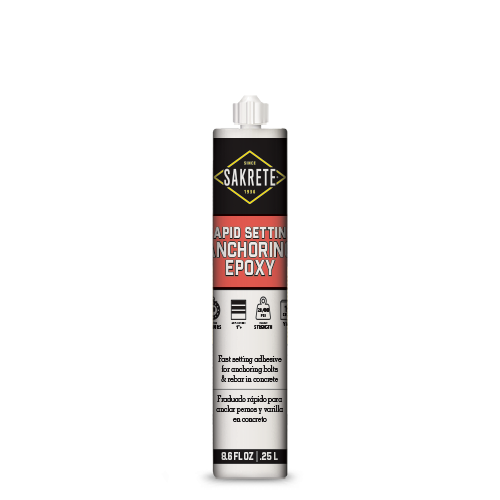
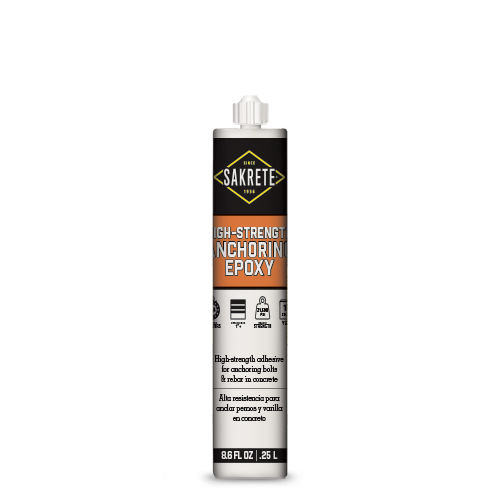
Products Used
Tools Needed
- Standard Caulk Gun
- PPE – N95, nitrile gloves, eye protection
Project Level: easy
Project Length: 10 minutes
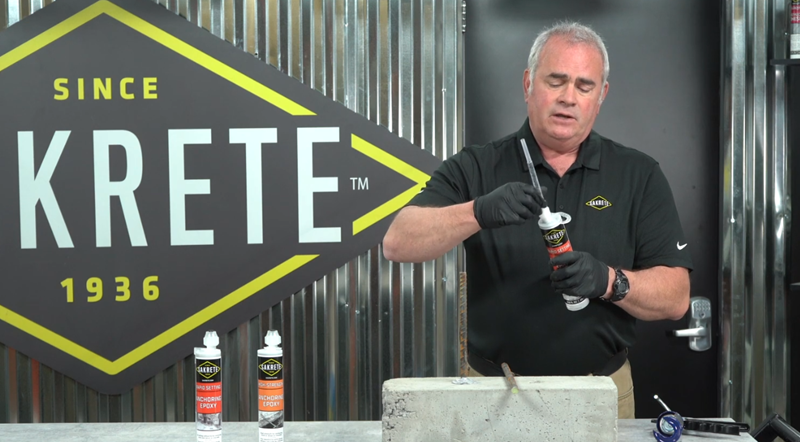
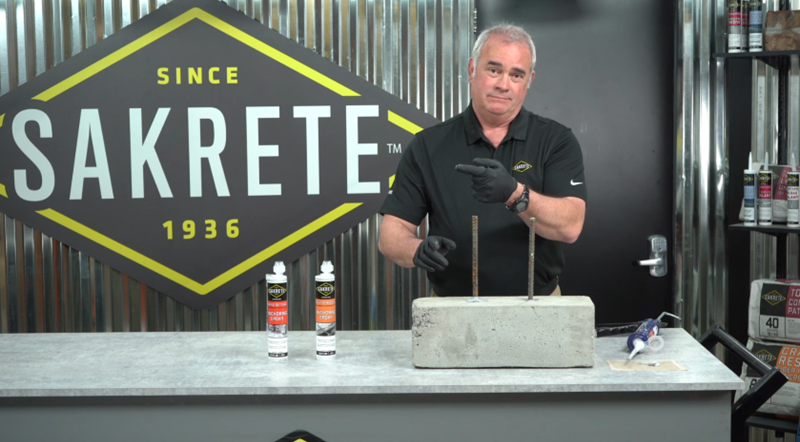
Sakrete Pro Tips | Epoxy Anchoring Rebar Reinforcements
Safety Notes: Read and understand the SDS before using this product. Wear protective clothing and equipment. Keep out of reach of children.
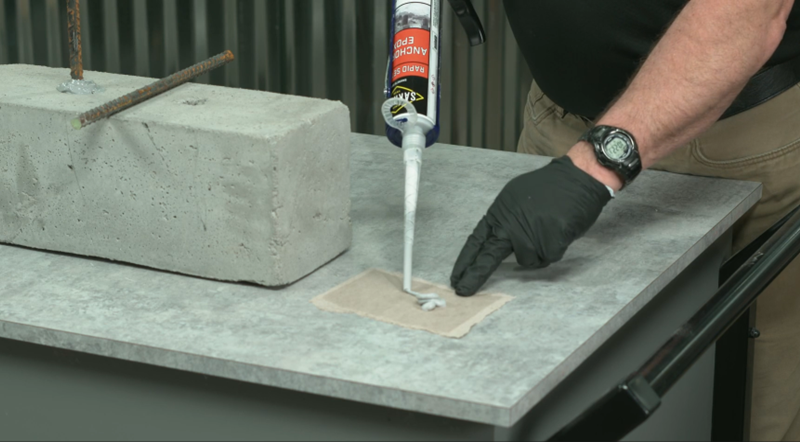
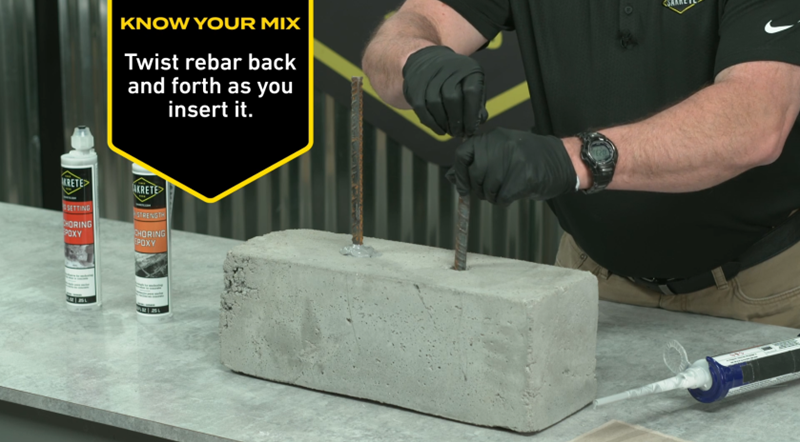
Project Tip: Make sure to clean any surface or hole where the anchoring epoxy will make contact for better results.
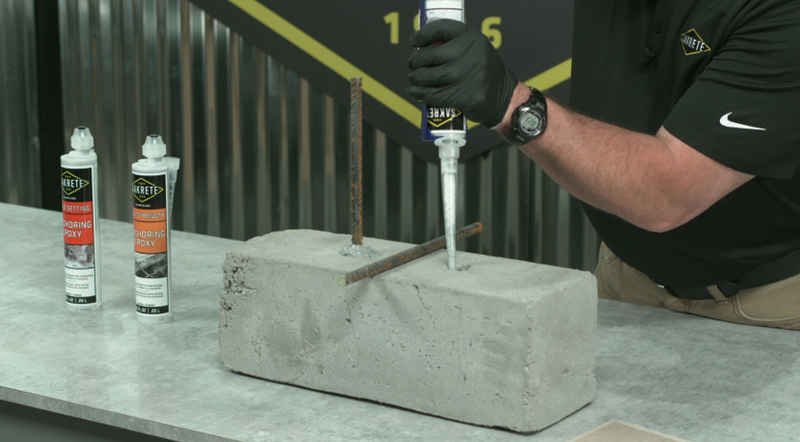
Project Tip: Use a pro-grade caulk gun with a 12:1 mechanical ratio for best results.
Project Tip: Don’t overfill!
Enter An Email To Send These Results.