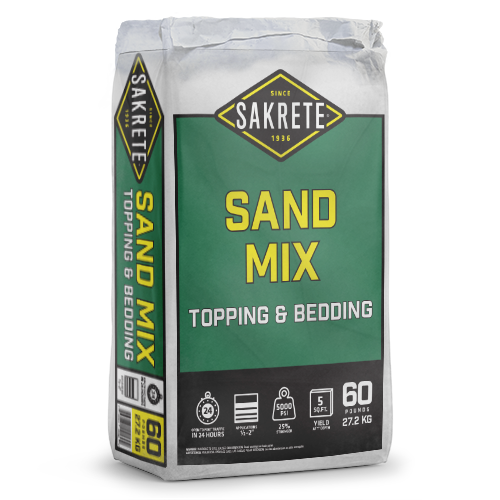
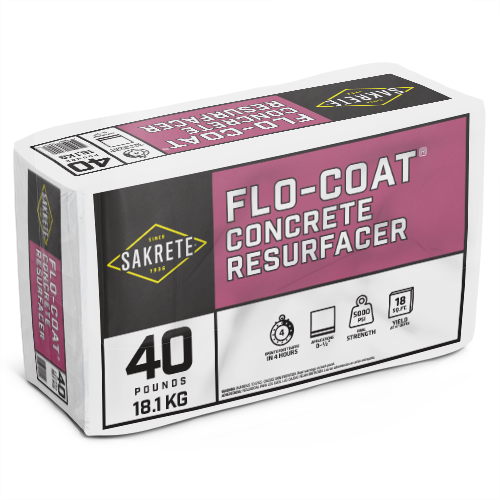
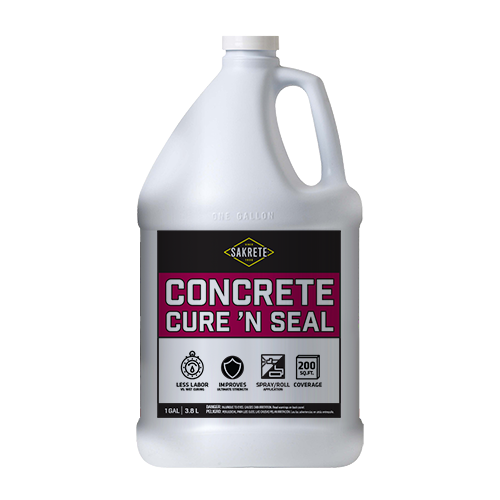
Products Used

Tools Needed

How Much Product Do I Need?

Project Prep

If you want to breathe new life into an old, damaged slab, then resurfacing is a quick, cost-effective way to do just that—or add a unique decorative finish. Be warned; this is a team project, so make sure to recruit a helper!

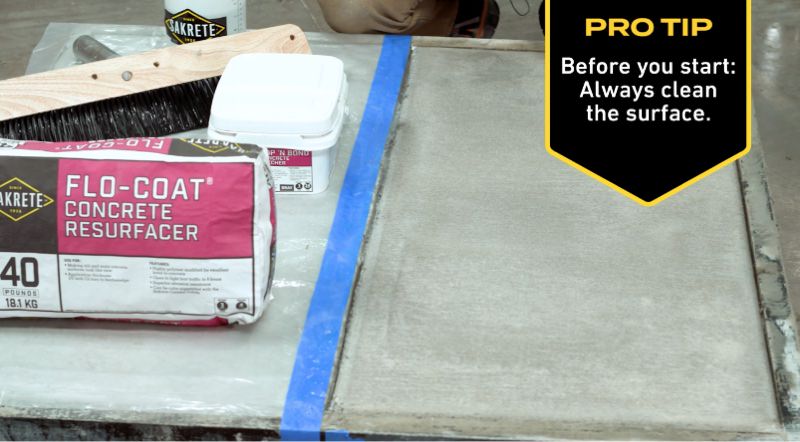
To get familiar with how Flo-Coat handles, we recommend testing out a small amount on a piece of plywood or other scrap areas.

  1. To get started, make sure air temperature remains above 50°F for 24 hours before and after the project.
  2. Estimate the amount of material required. One 40# bag of Flo-Coat will cover 18 square feet.
  3. Use the Resurfacing Calculator for fast results.
  4. Make sure your slab is clean and free of any loose concrete—a pressure washer is an excellent way to get it ready for resurfacing.
  5. Repair any damage larger than 1/4″ deep with Top’ N Bond before getting started. Review the Repairing Spalled or Gouged Concrete Project Guide for guidance.
  6. Allow any repairs to set for about 20 minutes before proceeding with resurfacing.
  7. Tape off any expansion joints to avoid accidentally filling them in with Flo-Coat.
  8. Using painter’s tape is a great way to maintain a sharp edge on your repairs or split up large pours.

Project Tip: If you’re planning to resurface a slab much larger than 36 square feet, break up the project into multiple pours. Use expansion joints as pre-defined stopping points!

Mixing

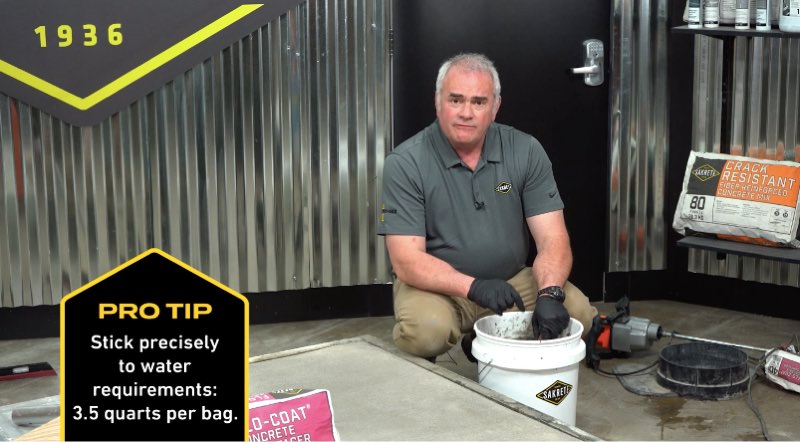
Once you add water, it’s important to move quickly! Achieving proper mix consistency is a critical step in a successful Flo-Coat application.

  1. Before beginning, make sure the slab is at SSD (saturated surface dry) condition.
  2. Make sure to wear your respiratory protection and pour Flo-Coat into a 5-gallon bucket.
  3. Add the recommended amount of water to the mix and start mixing with a paddle mixer. Do not deviate from the exact recommendations!
  4. Mix for 3 minutes at high speed, then let material rest for 1 minute.
  5. Mix for 30 seconds to achieve a smooth, lump-free pourable consistency. Keep in mind, the mix should flow like pancake batter when poured.
  6. Move immediately into pouring—waiting even a few minutes can alter the consistency of the mix.

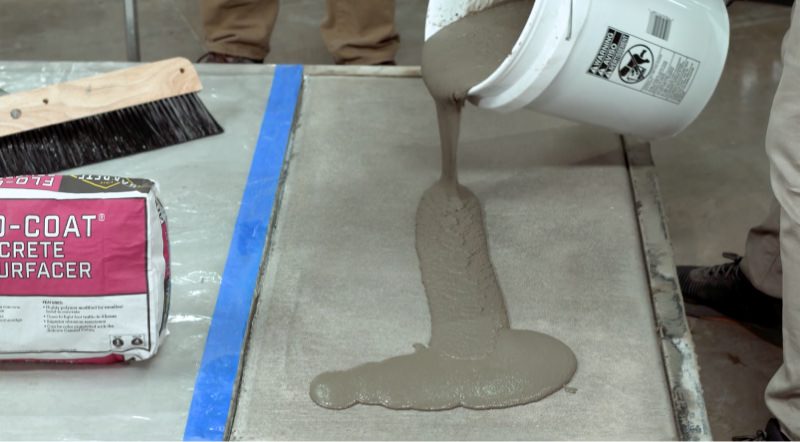
Project Tip: Working in a team makes the job go more smoothly – one person mixing, one pouring and one spreading is ideal!

Application

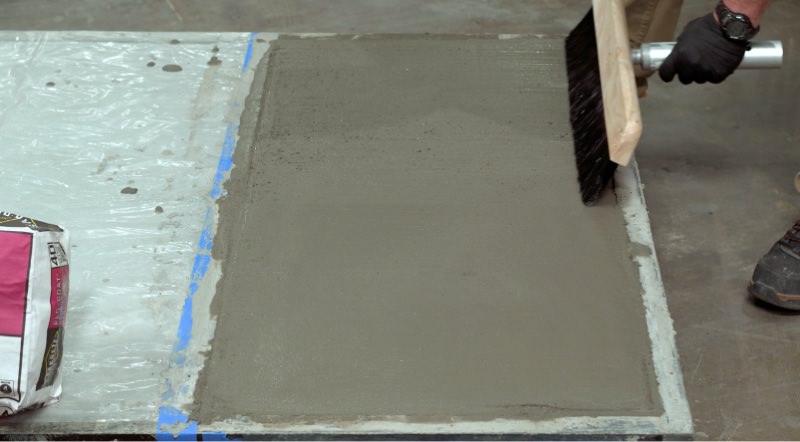
Remember, speed and teamwork are significant at this stage. Move quickly and trust the material—and yourself! Most importantly, resist the urge to over-work the surface.

  1. Ensure your slab is still at SSD condition. Lightly re-wet if necessary.
  2. Pour a 1’ strip along the longest edge of the slab.
  3. Resist the urge to pour too much material at once. It’ll be easier to achieve multiple thin layers than a single thick layer.
  4. Flo-Coat can achieve a 1/2” thickness, but most applicators will target no more than 1/8” in a single coat.
  5. Pull the mix perpendicular to the pour (for example, working backwards along the short edge of the slab) using a long-handled, stiff-edged rubber squeegee.
  6. Use a light touch to evenly spread the material out, pulling the material in one direction only.
  7. When mixed to the correct consistency, Flo-Coat will “self-heal” as it’s poured. Give the material a few seconds to consolidate after spreading before touching it again. Over-working is the number one mistake when working with Flo-Coat!
  8. Regularly clean the squeegee with a damp cloth to avoid drips or dragging hardened material through wet material.
  9. When the first strip of Flo-Coat is spread, quickly move on to the second strip. Make sure to overlap with the first pour to avoid cold joints.
  10. Make sure to continue working perpendicular to the direction of the pour, pulling material in the same direction for uniformity.
  11. Once all material is placed, it’s time to wait. In approximately 10 minutes, Flo-Coat will achieve initial set.
  12. Lightly drag a broom across the surface in parallel lines to even out minor inconsistencies and achieve a non-slip finish.
  13. If applying multiple layers, wait for 4 hours between coats.

Project Tip: Practice makes perfect. Work with Flo-Coat on a piece of scrap lumber before tackling a resurfacing project for the first time. Remember that you can always apply a second layer to correct any defects!

Curing

A proper cure procedure is a major step for yielding long-lasting results, so don’t skip it!

  1. Although Flo-Coat can be opened to foot traffic in only 4 hours, allowing for a longer cure will enhance the durability.
  2. Applying Sakrete Cure ‘N Seal immediately following the broom finish will dramatically enhance the curing process and reduce the need for wet curing.
  3. If you’re not using Cure ‘N Seal, it’s important to keep the material continuously moist for 3 days. Covering with plastic can help retain moisture and extend time between surface misting.
  4. Allow to cure for 7 days before opening to vehicle traffic.

Project Tip: Using cold water in hot weather is a great method for extending the working time of Flo-Coat.