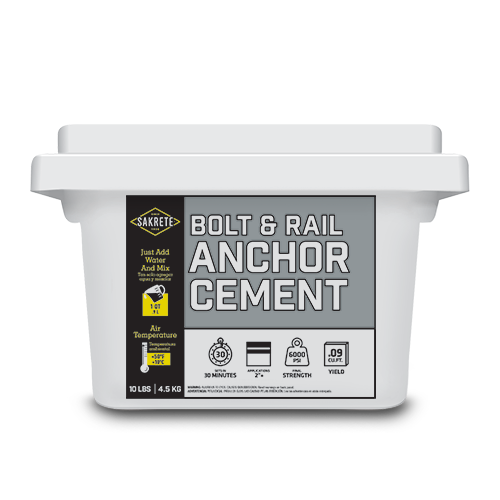
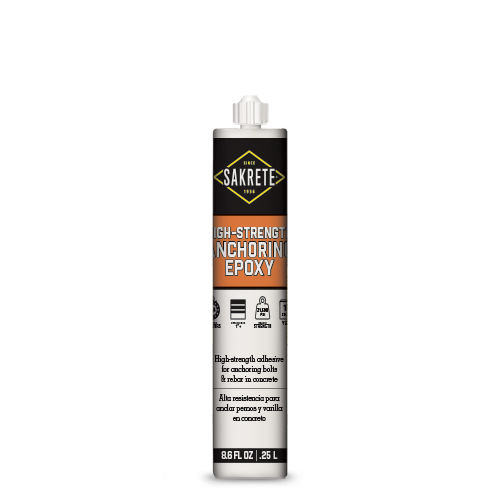
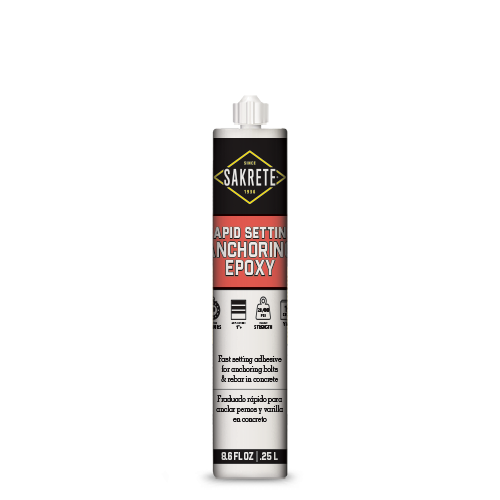
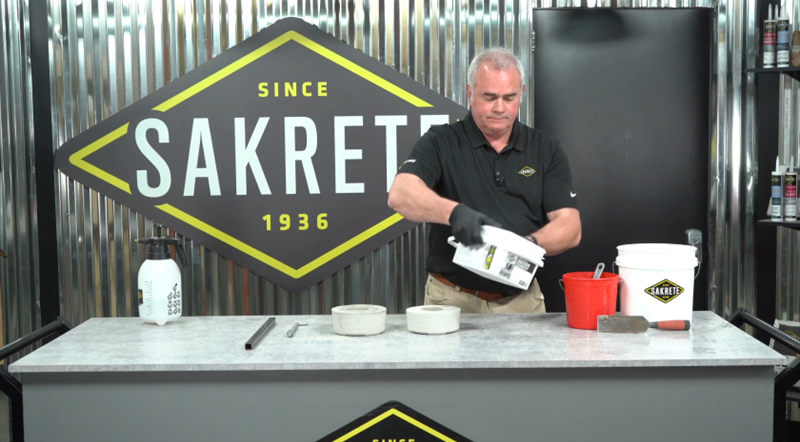
Products Used

Tools Needed

Project Prep

Anchoring cement is a pro-grade solution to securing bolts, railings, posts and more to existing concrete. Anchoring cement can be used for anchoring bolts to attach a sill plate, wet-anchoring a railing for a fence/handrail, and anchoring heavy-duty machinery into place. The reason why real pros use anchoring cement instead of regular cement is thanks to its non-shrink properties, high strength, flexibility, and quick-setting.

  1. Inspect the Area: Check the stairs or surface where the rail will be installed for any pre-existing holes or areas that need repair. Ensure that the hole is wide enough and deep enough to provide proper support. Diameter of hole should be 3 to 4 times the diameter of the fixture being placed and the depth of the hole must be 8 to 12 times the fixtures diameter.
  2. Clean the Holes: Ensure the holes are free of debris – including loose concrete – to eliminate bond breakers. Blow out holes using compressed air or water, making sure to clean the holes thoroughly.
  3. Moisten the Holes: Flood the hole with clean potable water and then remove all standing water leaving the hole damp. The surface should be brought to a saturated surface dry condition (SSD).

Project Tip: Never use standard concrete for anchoring applications.

Mixing

  1. Shake Before You Bake: Before mixing, shake the container to fluff up the powder and ensure an even distribution of ingredients.
  2. Create the Mix: Start with a 4 to 1 ratio but adjust to a more fluid consistency for easy pouring into the holes.

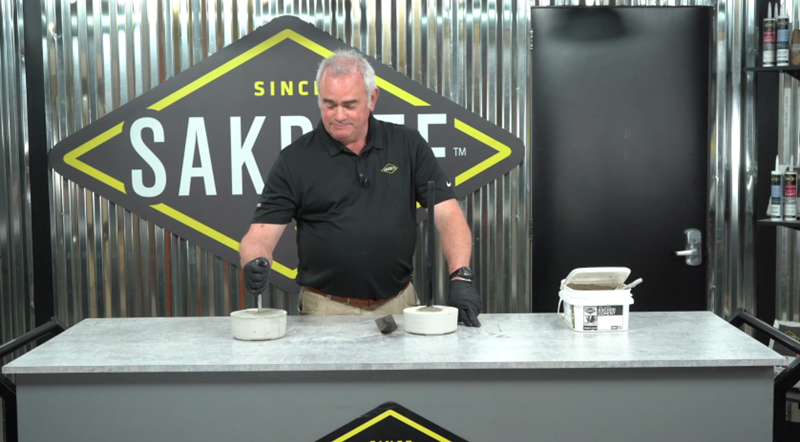
Project Tip: Not shaking the container is the #1 reason for material failure.

Application

  1. Bolt/Rail Placement: Set the anchor bolt or railing into the hole.
  2. Pour the Material: Pour the mixed anchor cement into the hole, ensuring it’s flowable enough to fill the space around the bolt or railing.
  3. Vibrate for Consolidation: Use the bolt or rail itself to vibrate the material slightly, eliminating air pockets and ensuring good consolidation.

Project Tip: Hole diameter should be 3 - 4x the diameter of the fixture.

Finish

  1. Secure the Bolt/Rail: Hold or secure the bolt or rail in place until the material sets, which can be quick, especially in warm outdoor conditions.
  2. For Anchoring Bolts: Create a Flat Surface: Once the initial set is achieved, use a trowel to create a flat surface around the bolt for a good seal with the sill plate or bracket to be secured.
  3. For Exposed Railings: Overfill and Shape: When anchoring a rail, overfill the hole slightly and then shape it into a dome that slopes away from the center, allowing rainwater to disperse out all sides. Note: rail anchors are ALWAYS underfilled, which is a major failure leader with this product.

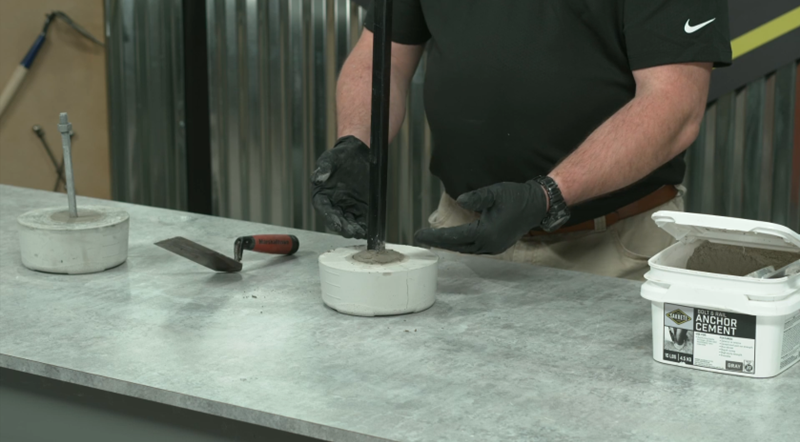
Project Tip: Finish in dome shape to send rainwater away from the bolt or rail.

Curing

  1. Initial Set: Wait for the material to achieve an initial set, which can take as little as three to ten minutes depending on the temperature. Materials set faster at higher temperatures and slower at cooler temperatures. The set time can be adjusted by using cool water. Ensure everything is plumbed and positioned correctly before this time.
  2. Final Set: The final set occurs at 30 minutes.
  3. Full Cure: The material reaches 6,000 psi at 28 days, but it’s strong enough to use on the same day after the initial set.

Alternate Products