Products Used

Tools Needed

How Much Product Do I Need?

Project Prep

The shower pan is the all-important foundation of a stand-up shower. Water is a merciless foe, so cutting corners here can lead to rapid and expensive failure of the entire shower.

In this project guide, get the key practices for building a mortar shower pan after the framework of the shower is in place.

However, because the shower pan is just one piece of the equation, it’s important to consult your local building code as well as the Tile Council of North America (TCNA) Handbook  and ANSI108.1 for additional details before starting the project.

  1. Estimate the amount of material required. A good rule is to assume a 2” depth for the shower area.
  2. Use the Slab Calculator  for fast results.

Project Tip: Use the Sakrete App to quickly measure, estimate and buy straight from your phone.

Mixing

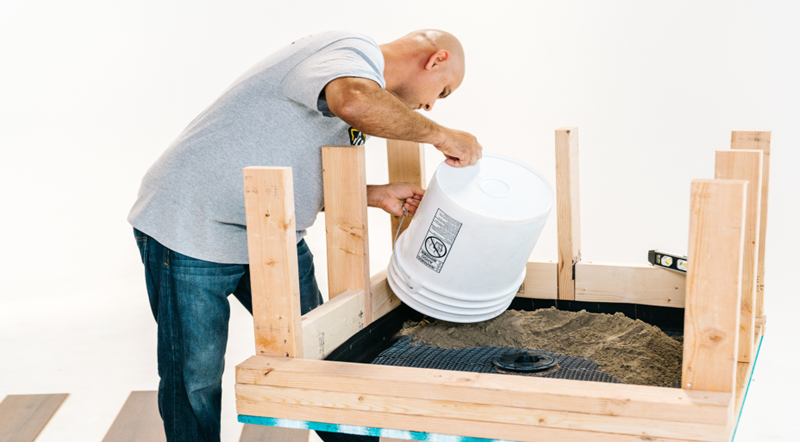
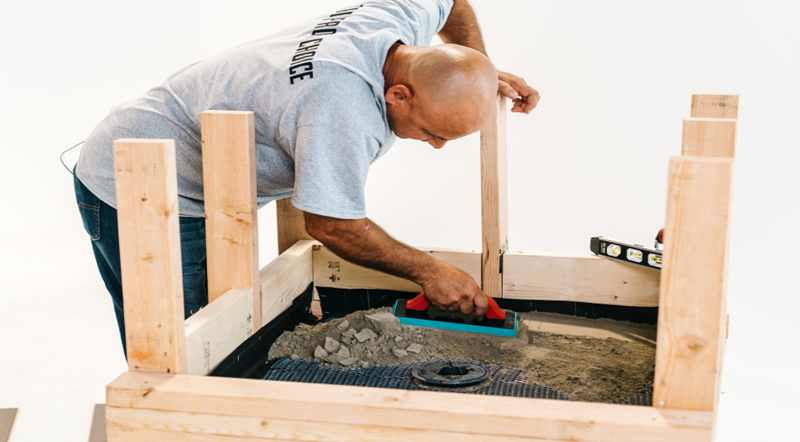
Shower pans are built in two stages. Each stage uses the same “dry pack” mixing method.

  1. Wearing respiratory protection, pour Sand Mix into a mortar pan or 5-gallon bucket.
  2. Add about 1/4 of the recommended water to the mix and start mixing.
  3. Check the consistency of your mix.
  4. The correct dry pack consistency has been reached when you can form a “snowball” with the mix using your hands. If you can toss the “snowball” a few inches in the air without it breaking, you’ve nailed it.
  5. If the “snowball” crumbles, add more water and re-mix. If the mix is too wet, add more dry mix. Keep track of your mixing ratios for the next batch.

Prep for Pre-Slope

The first layer of the shower pan is underneath the waterproofing membrane. This often-overlooked step establishes a drainage path for water if the top layers of the shower pan are compromised.

  1. Cut a sheet of building paper or roofing felt to fit the bottom of the shower base to act as a cleavage membrane.
  2. Install metal lath or reinforcement over the cleavage membrane, securing it to the subfloor with nails or staples.
  3. Calculate your floor slope by measuring the distance from the drain to the farthest wall in feet. The target is 1/4” of slope per foot from wall to drain.
  4. Multiply this distance by 0.25, then add 1/2” to establish the high point of your mortar bed in inches. Mark this point and extend it around the entire perimeter of the shower.
    1. For example, If the drain is 3’ from the shower, your high point is 1.25” above the subfloor. (3 x .25 = .75, plus .5 = 1.25)
  5. Set the drain flange 1/2” above subfloor to use as a low-point reference for your slope. Plug the drain to ensure it stays clear during mortar pan install.

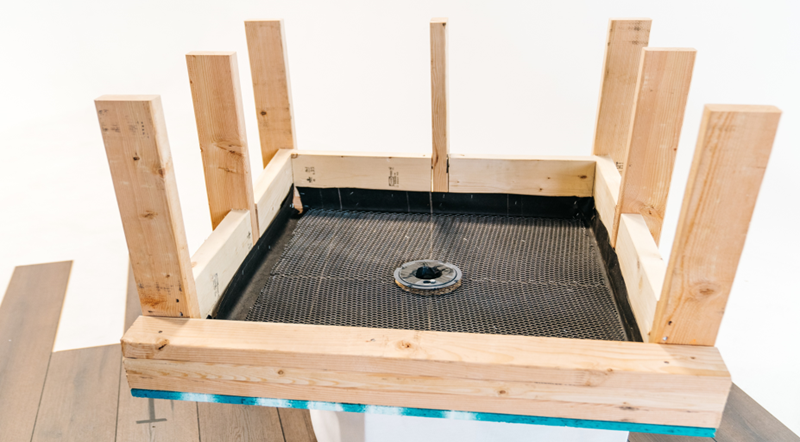
Project Tip: Why pre-slope? If the membrane is installed flat on the subfloor, water will have no path to the drain and will cause mold, tile failure and eventually, failure of the entire mortar pan.

Build Pre-Slope Mortar Bed

  1. Dump enough dry pack Sand Mix into the shower base to form a level perimeter around the entire shower pan at your high point mark.
  2. Pack the perimeter layer with a rubber or wooden float by repeatedly tamping the material down.
  3. Use a hand level to maintain level around the perimeter. Check level both on each side as well as from edge to edge.
  4. Once perimeter is level, fill in the center of the shower pan to start establishing a rough slope from the edges to the drain. Pack down material as you progress.
  5. Once rough slope is achieved, use a straight edge to confirm that you have a smooth slope from edge to drain in all directions. Add more material where necessary and continue packing down.
  6. Allow pre-slope bed to cure for 24 hours before moving to next phase.

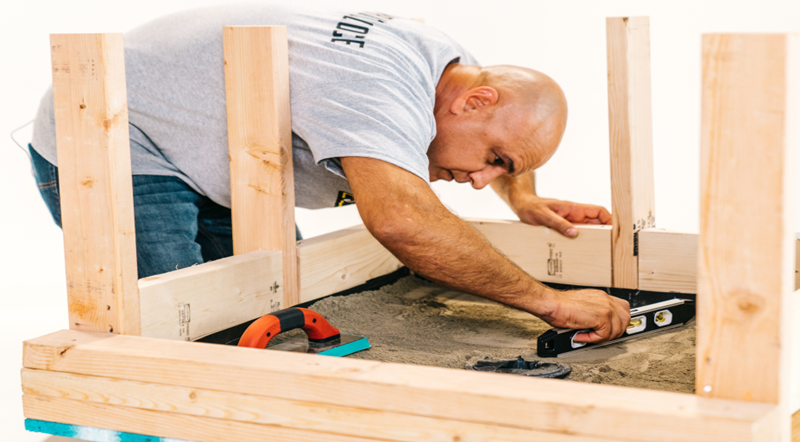
Project Tip: Make a final pass with a steel finish trowel to establish a smooth finish surface. While not mandatory, this will ensure that the waterproofing membrane isn’t abraded by the surface of the pre-slope mortar bed.

Install Waterproofing Membrane

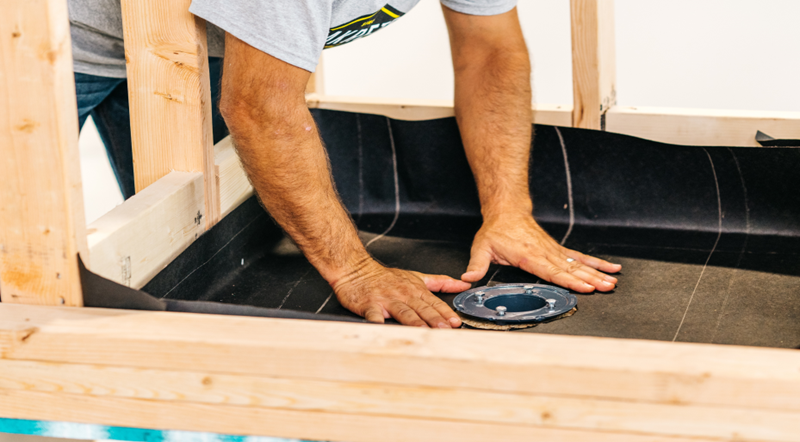
Waterproofing membrane ensures that any moisture intrusion is properly drained. Grout and mortar aren’t completely waterproof, so skipping this step can be catastrophic.

  1. Cut waterproofing membrane to approximate size.
  2. Waterproofing membrane should extend approximately 6” up the walls (check your local building code) and be secured at the top only.
  3. Corners should be folded, not cut, and ideally bonded with a manufacturer-approved sealant or adhesive.
  4. Once membrane is installed, carefully cut an “X” over the drain base, being careful not to extend the cut past the base flange.
  5. Fold cut edges into drain base and install clamping ring and collar bolts. Cut off any excess membrane that extends into the “throat” of the drain. Seal ring with manufacturer-approved caulk.

Project Tip: Defer to your waterproofing membrane manufacturer’s instructions for everything in this phase.

Build the Primary Mortar Bed

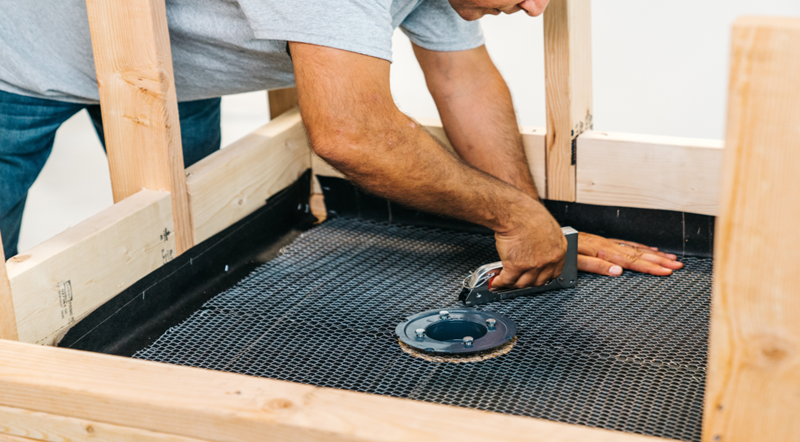
With the waterproofing membrane in place, it’s time to put the final layer of Sand Mix down. The depth of this layer will be determined by the height of the adjustable drain but must be a minimum of ½”.

  1. Repeat “Prep for Pre-Slope” section (steps 3, 4 and 5) to calculate the slope of the final mortar bed.
  2. Set the adjustable drain at the calculated low point to use as a reference. Make sure to tape off the drain opening to keep it clean.
  3. Place a layer of clean gravel or crushed tile around the shower drain to keep the weep holes free.
  4. Repeat “Build Pre-Slope Mortar Bed” section (steps 3, 4, 5 and 6) to place the final mortar bed.
  5. Raise the adjustable drain by approximately 1/8” to accommodate tile. Fix mortar bed disturbed during drain move.
  6. Tiling should begin within 16 hours of mortar bed installation. After 24 hours, the mortar bed enters a “green” state and cannot have tile adhered for 28 days.

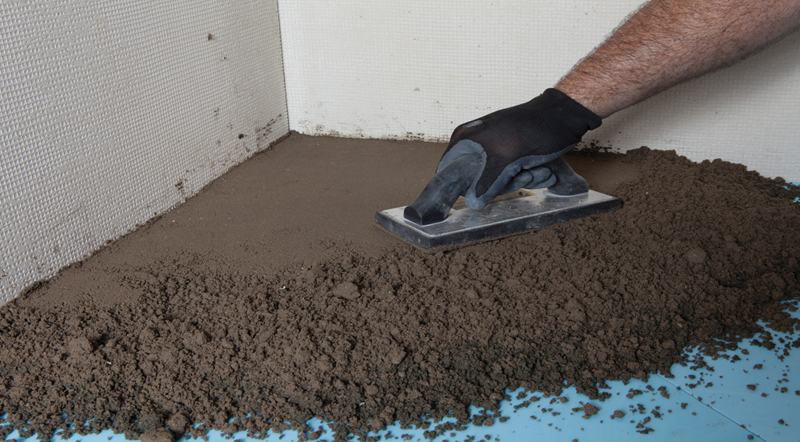
Project Tip: Use a steel finishing trowel to smooth out the final mortar bed. This allows tiles to be set directly on the mortar bed instead of requiring additional thin-set mortar.