Products Used

Tools Needed
- Graduated bucket
- Margin Trowel
- 2x Flat Trowels
- Paintbrush or Broom for Finishing (depending on size of area)
Project Level: moderate
Project Length: 20 Minutes
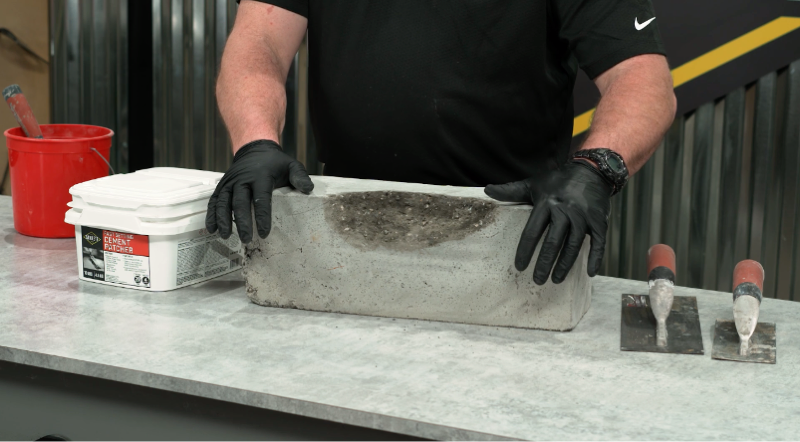
Project Guide – Repairing Broken Concrete Edges and Deep Damage
Concrete boasts incredible compressive strength, making it ideal for flat surfaces that will last for decades. However, it is more vulnerable to point loads or shear forces, making corners and edges more susceptible to damage.
From stair treads to column corners to curbs, this damage can cause serious safety concerns – not to mention aesthetic issues.
For years, these types of structures were repaired using slow-setting materials poured into forms – less than ideal for getting them back into service quickly. Today’s advanced materials make this process easier than ever, allowing you to eliminate forms and get the job done in minutes, not hours.
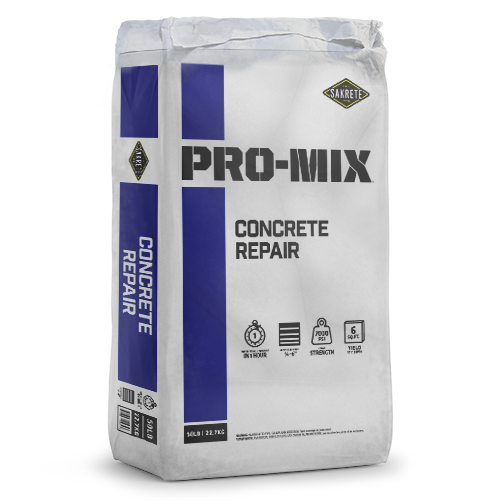
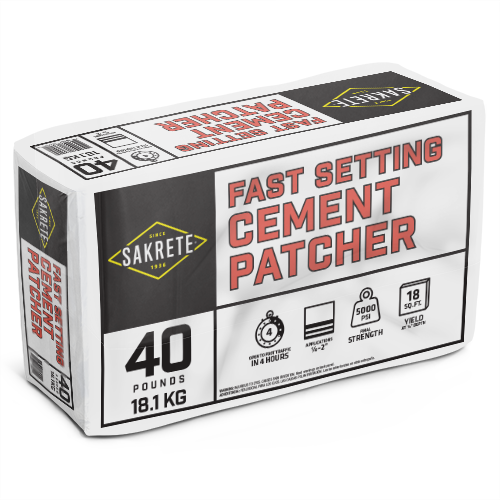
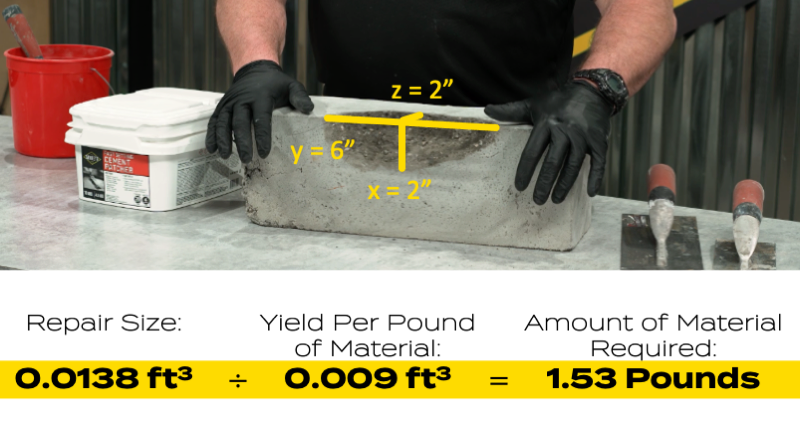
Choosing the right product for the job is the first step. If the repair is between ¼” and 2” vertically, use Sakrete Fast Setting Cement Patcher. For repairs up to 4” vertically, step up to Sakrete Pro-Mix All-Purpose Cement Mix.
Project Tip: Always over-estimate when mixing by eye! It’s difficult if not impossible to mix another batch halfway through, especially when using fast-setting materials.
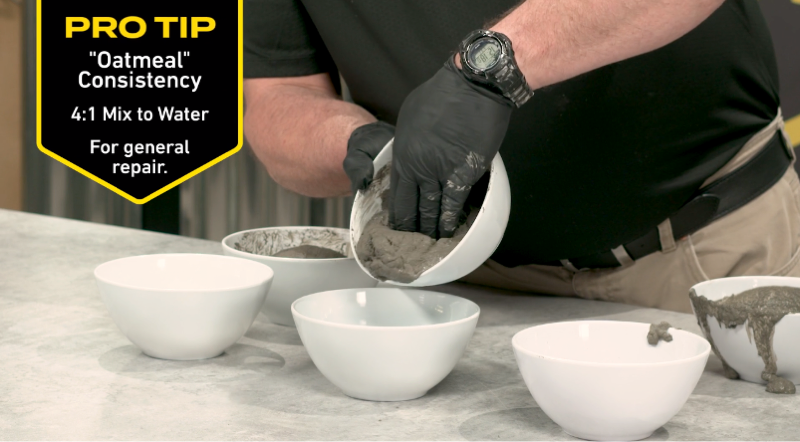
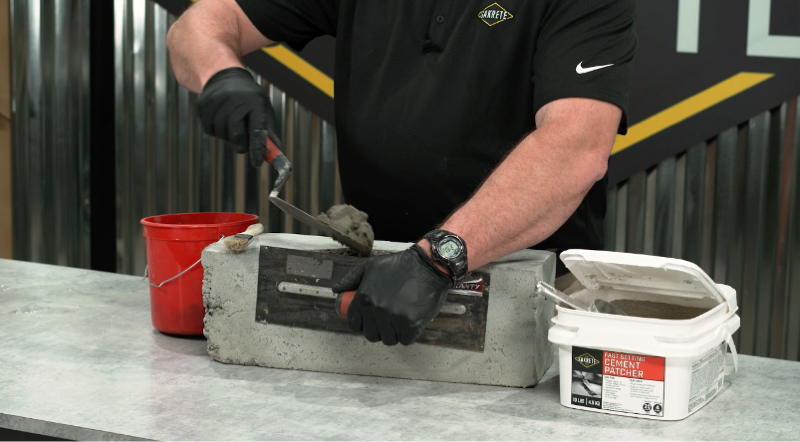
Repair materials have a wider range of acceptable consistencies than standard concrete and are often mixed by ratio rather than volume. The most common ratio for Fast Setting Cement Patcher is 4:1 – 4 parts mix to 1 part water.
Project Tip: Mixing by hand is sometimes most convenient for small patches. Be sure to wear gloves!
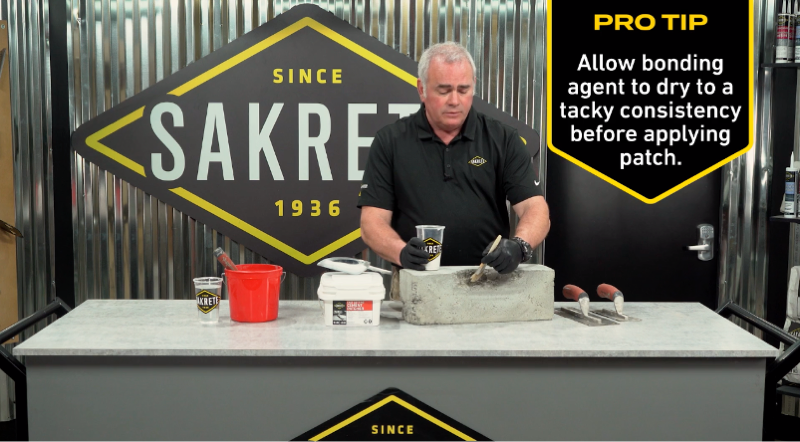
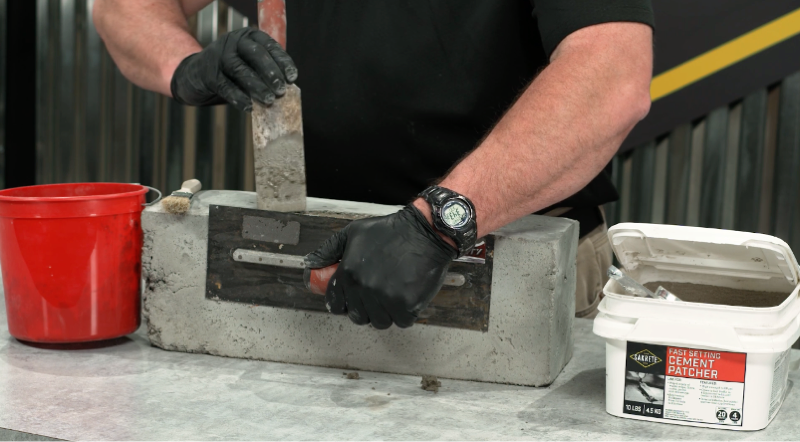
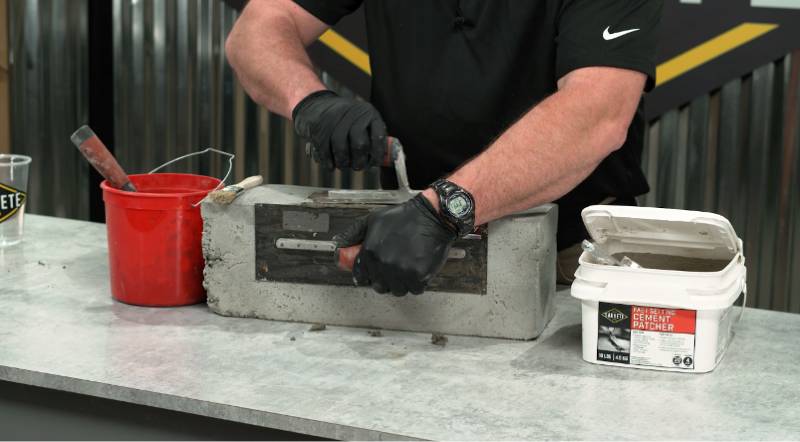
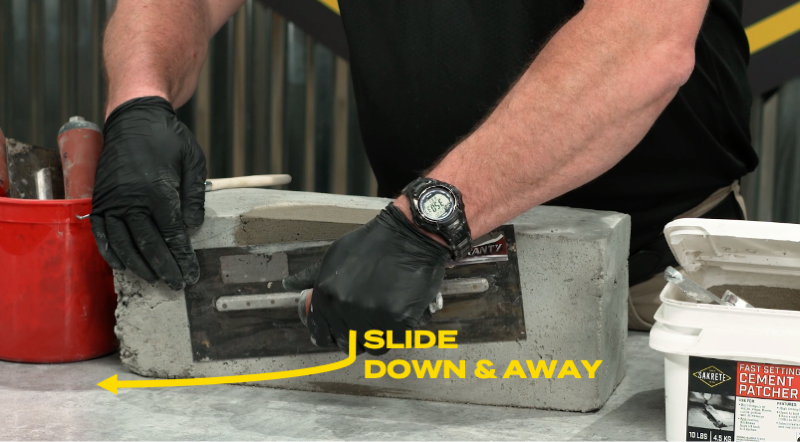
The biggest time savings for fast-setting materials comes at this stage. Where you would normally build a wooden form to hold the mix in place, products like Fast Setting Cement Patcher allow you to simply hold a flat trowel in place for 5 minutes to act as a form!
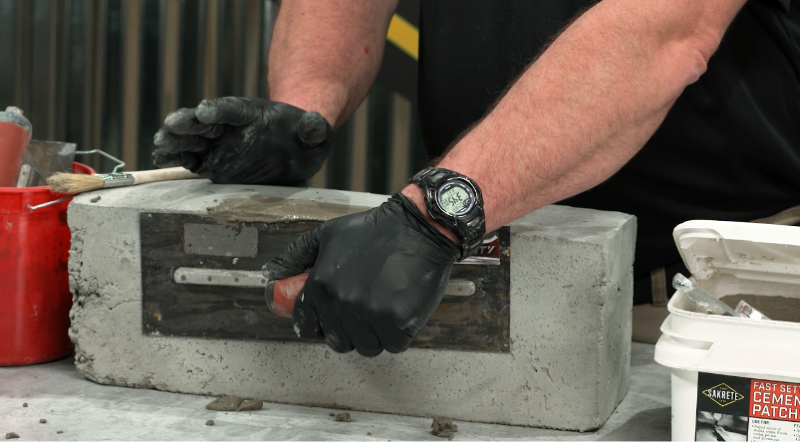
Project Tip: Consider skim-coating the entire repair area with Sakrete Top ‘N Bond as a final step to achieve a uniform appearance.
Put the finishing touches on the job.

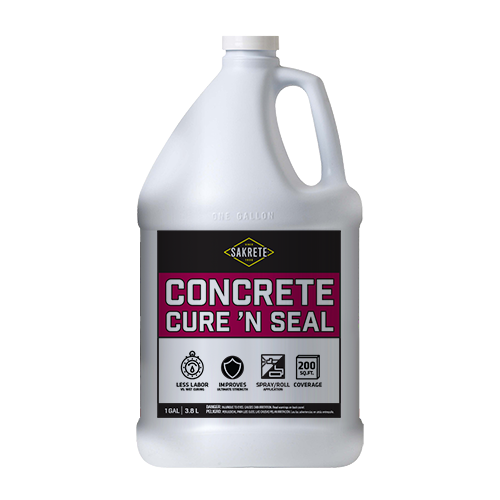
Project Tip: Applying Sakrete Cure ‘N Seal is an often-overlooked best practice that will ensure the best curing behavior of all concrete – including repair materials.

Enter An Email To Send These Results.