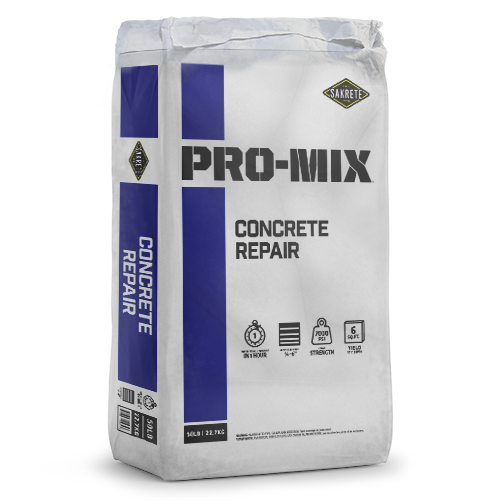
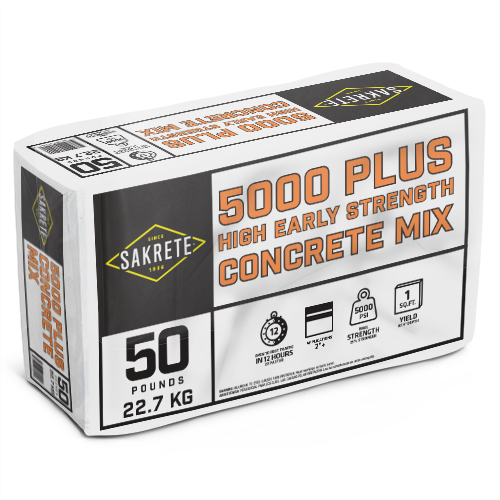
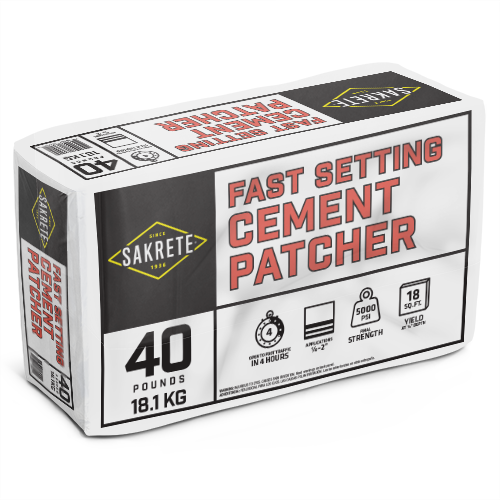
Products Used

Tools Needed

Project Prep

Uneven concrete slabs are a pain and should not be ignored. They are a trip hazard, sending people to the hospital and unattractive to the eye. Uneven concrete occurs due to soil settling, erosion, improper installation, tree roots pushing up on the concrete, excess weight, ground movement, and extreme weather to name a few.

A great solution, also very cost-effective and a speedy way to solve the problem, is to do an uneven slab repair. Keep in mind this is only a band-aid and there’s a chance the concrete could return to its uneven state. With that in mind, here’s the breakdown on how to repair an uneven concrete slab.

  1. Evaluate the Slab: Determine if the slab’s unevenness exceeds the manageable limit for a repair. If it’s too large, typically when the highest and lowest points of the slab is more than ¼ inch to ½ inch, consider removal and re-pouring.
  2. Prepare the Surface: Clean the slab and ensure it’s free of debris. Before starting this repair, it’s important to follow the three C’s of surface prep to ensure a successful job. Those steps include Clean, Check, and condition the surface of the repair area. Read our “The Three “C’s” of Surface Prep | Sakrete” Pro Tip for more in-depth details on how to prepare a surface repair. Apply a primer such as Sakrete Concrete Bond Strength Primer & Additive. However, If using Sakrete Top ‘N Bond, bring the concrete to SSD (Saturated Surface Dry) condition only, as this mix contains bonding agents inside of the mix.
  3. Mark the Work Area: Use a steel float or trowel to gauge the slope needed to eliminate the tripping hazard. Mark the area with painter’s tape for a clean edge.

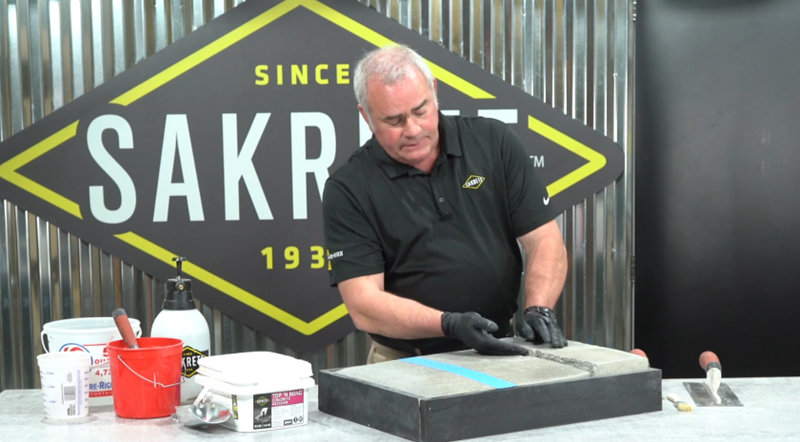
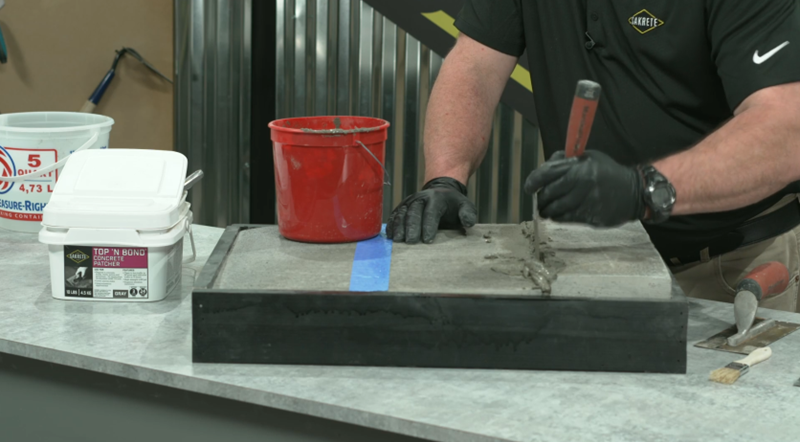
Project Tip: Always remove any loose materials and clean the slab before starting a repair.

Mixing

  1. Choose the Right Product: If Sakrete Top ‘N Bond is not available, select a suitable alternative that may require priming like Sakrete Fast-Setting Cement Patcher.
  2. Consistency is Key: Mix the product to a flowable, loose consistency for filling cracks. It should resemble runny oatmeal and have ratio of 2 parts mix to 1 part water (2:1).
  3. Adjust the Mixture: Add more powder to thicken the mix as needed, especially when building up the slope from the high point to the low point. This can be achieved at a ratio of 4 parts mix to 1 part water (4:1).

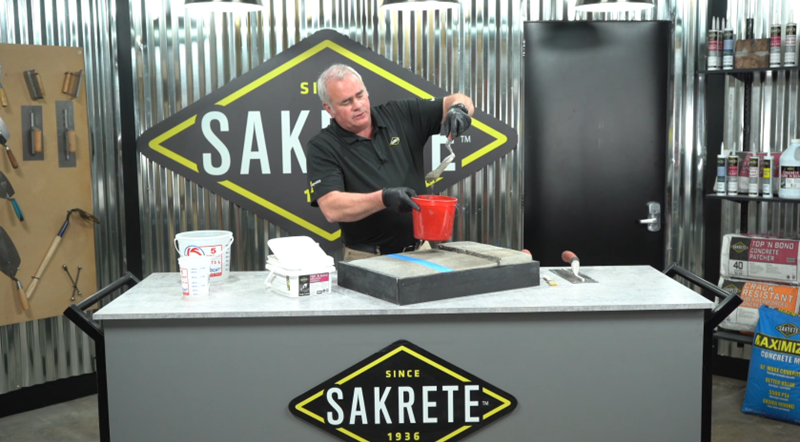
Project Tip: Mix to a 4:1 ratio for a stiffer, more shapable mix.

Application

  1. Fill the Cracks: Use the mixed material to fill any large visible cracks, rodding it with a margin trowel to ensure it reaches the depths and consolidates well. This is important to do prior to patching the rest of the slab.
  2. Shape the Slope: After filling the voids, use the thicker mix to shape the slope from the high point to the low point of the slab. Use forms if necessary to shape the material.
  3. Rapid-Setting Material: If using a rapid-setting material like Sakrete Fast-Setting Cement Patcher, you can freehand the finish if skilled enough. Repair mixes can be mixed firm enough to allow for freehanding.

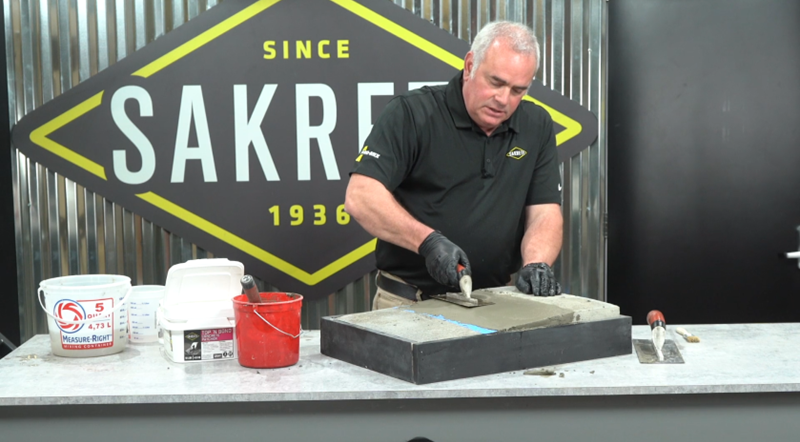
Project Tip: Don't overwork the material. Place, trowel and leave it alone!

Finish

  1. Smooth the Surface: Once the slope is built, smooth the surface to match the surrounding area.
  2. Finalize the Shape: Work quickly to get the desired shape, then allow the material to set without further adjustment to avoid imperfections.

Curing

  1. Let it Set: Allow the repair to set undisturbed. Avoid overworking the surface to prevent imperfections.
  2. Broom Finish: Once firm, usually until a finger does not leave an imprint, apply a light broom finish with a paintbrush or broom for a non-slip surface.
  3. Apply Cure ‘N Seal: After the concrete has hardened, usually about 4 to 6 hours after placing, apply 2 even coats of Cure ‘N Seal using a pump sprayer or roller. The Cure ‘N Seal allows the concrete to cure properly, improves water resistance, stain resistance and appearance of the new repair.
  4. Remove the Tape: After 24 hours, remove the painter’s tape. The slab is now safe for use with no tripping hazard.

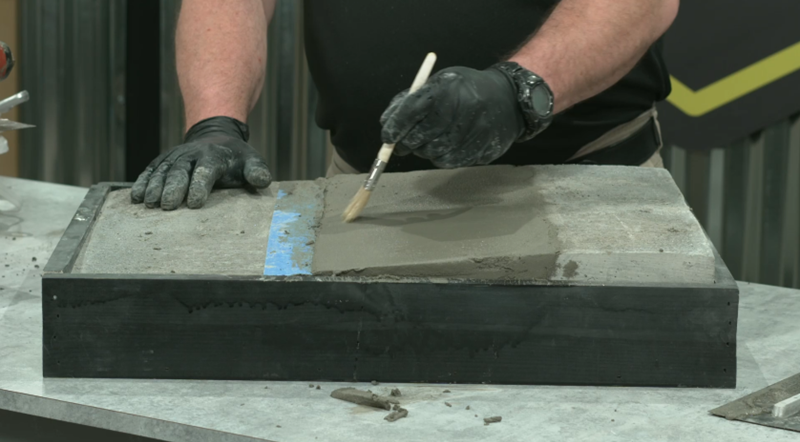
Project Tip: Always have a curing plan in place for the repair.

Alternate Products

Fast-Setting Cement Patcher

Deep Repairs, Solved