Products Used

Tools Needed

How Much Product Do I Need?

Get The Job Done Faster

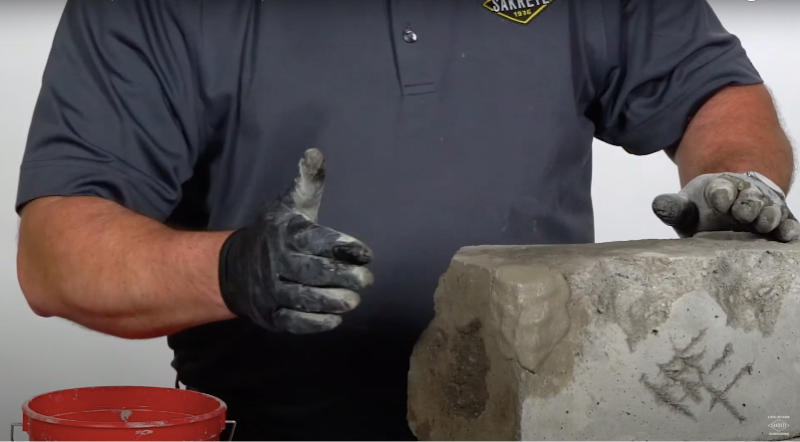
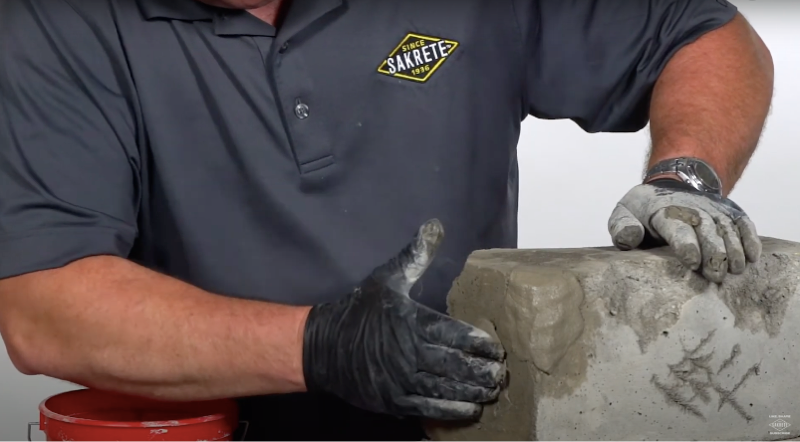
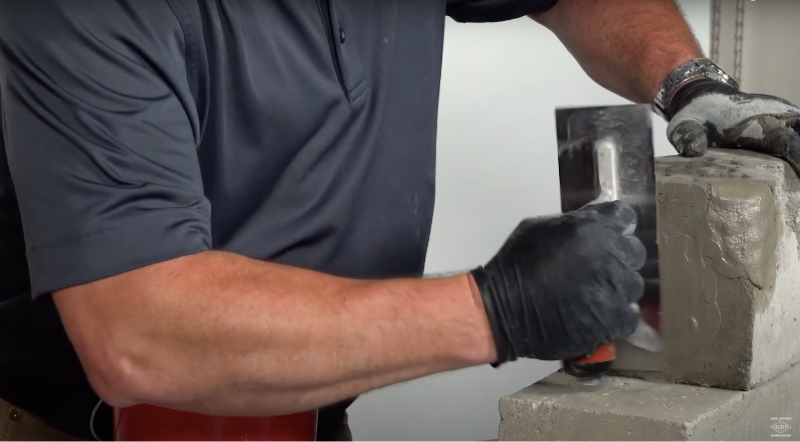
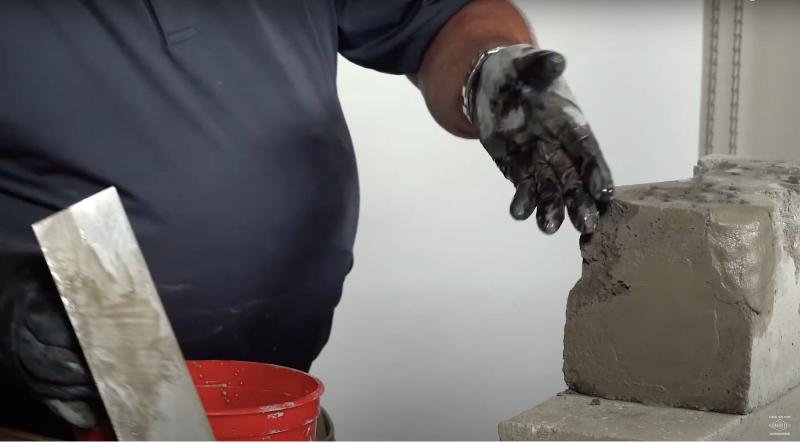
No precast structure is perfect – even on day one. Whether it’s pop-outs after forms are pulled, dings during transportation or damage from forklifts, precast takes a lot of abuse – so being able to quickly patch, repair and smooth out damage is a must.

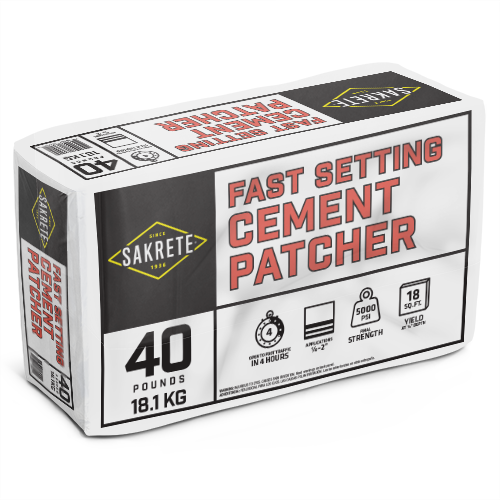
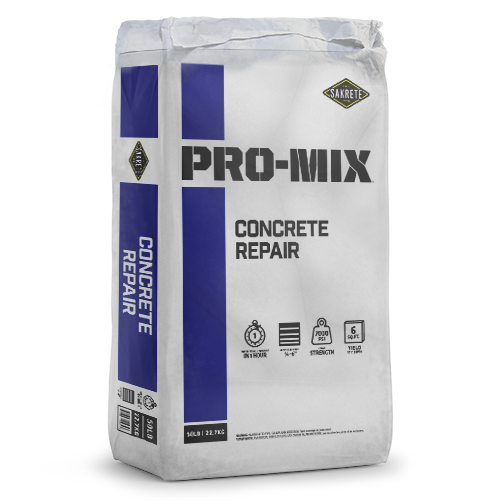
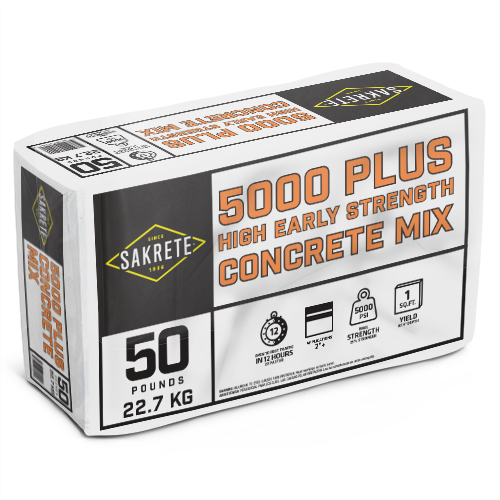
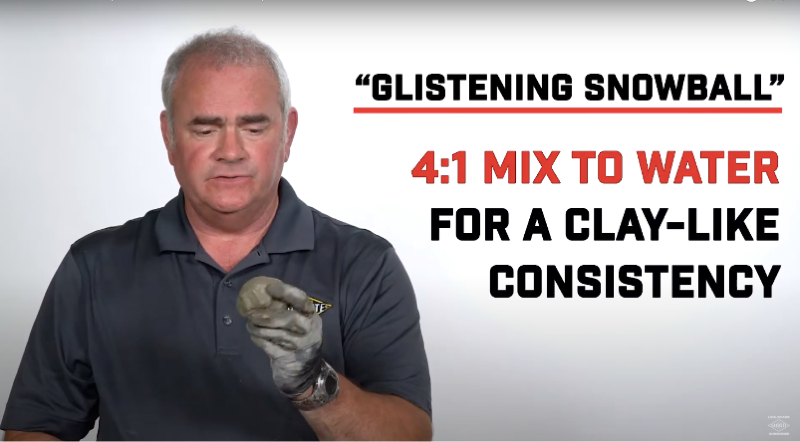
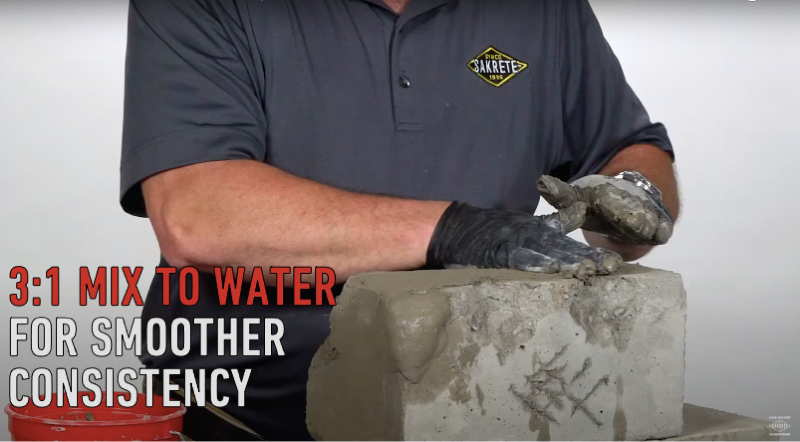
Sakrete’s Pro-Mix lineup is the solution. With extended working time, ultra-fast structural strength and 7,000+ psi final strength, it’s the only mix you need to fix a wide range of damage from feather edge up to 4” deep – something few other mixes can boast.

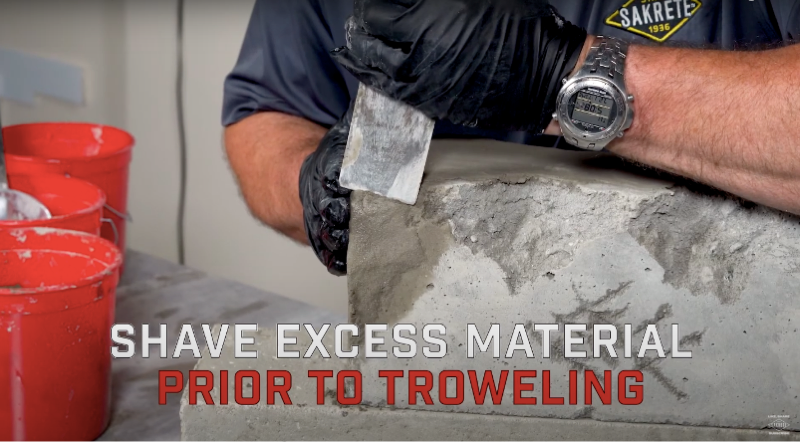
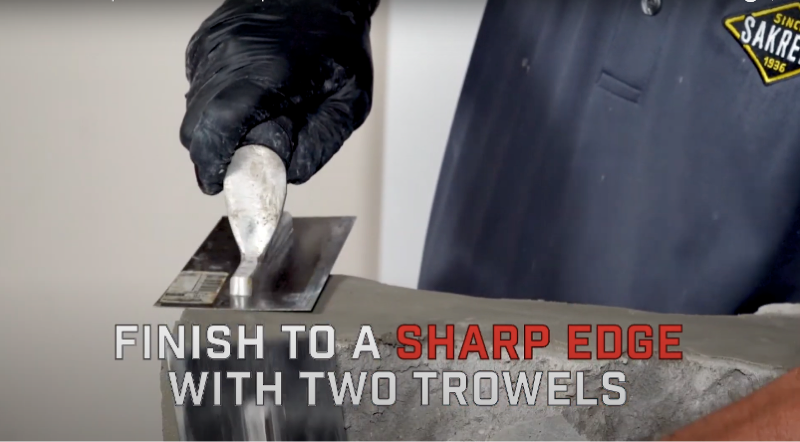
In this project guide, we’re going to tackle three of the most common precast repairs.

Project Prep

  1. Estimate your repair area to choose the correct package size. Because damaged concrete corners are often oddly-shaped, it’s recommended to use the largest vertical, horizontal and width dimensions of the repair so you don’t run short.
    1. Use the Slab Repair Calculator for precise estimates of the amount of product needed.
  2. Sweep the repair area to remove any dirt or debris that act as bond breakers. Consider using a pressure washer for large or heavily soiled areas.
  3. Sakrete Pro-Mix products are heavily polymer modified and should NOT be used with bonding agent.
    1. If you are using Sakrete Fast-Setting Cement Patcher, bonding agent is recommended. Dilute Sakrete Bonder & Fortifier 1:1 with water and to the repair area using a paint brush.
    2. Allow to dry for a few minutes until tacky – but be careful to not let the bonding agent completely dry. Usually the time it takes to mix the repair materials is sufficient drying time.

Project Tip: Always over-estimate when mixing by eye! It’s difficult if not impossible to mix another batch halfway through, especially when using fast-setting materials.

Mixing

When working with Pro-Mix products, be sure to only mix as much as can be placed in 10 minutes. Don’t get cocky!

  1. Wearing respiratory protection and gloves, add pre-measured water to your mixing pail, followed by the dry mix. Start at a 4:1 ratio – 4 parts mix to 1 part water and adjust from there.
  2. A 4:1 ratio delivers a versatile, moldable mix consistency that is perfect for oddly-shaped repairs such as broken corners or pop-outs.
  3. Mix for two minutes to achieve complete consolidation of the mix.
  4. For 4:1, target “Glistening Snowball” consistency – the mix should pack into a ball and have a light sheen of water on the surface.

Project Tip: Mixing by hand is most convenient for small patches, especially when mixing to a firm consistency. Be sure to wear gloves!

Application – Deep, Isolated Repairs

When mixing to a “Glistening Snowball” consistency, application work is done by hand.

  1. Using your hands, press the mix firmly into the repair area to ensure it bonds to the entire surface area.
  2. Mold the repair material into the rough shape of the repair.
  3. If working on rebuilding a corner, over-build to allow for shaping.
  4. Pro-Mix All-Purpose Cement has a 15-minute “pot life” but can be brought back to life simply by agitating the mix. Do not add additional water!
  5. If rebuilding a corner, allow the mix to dry to thumbprint hardness (about 5 minutes) and then “shave” excess material off using a margin trowel.
  6. Finish shaping the new edge using two margin trowels. You’re focusing on smoothing and sharpening at this point – a few passes should do it.
  7. Flat repairs such as pop-outs can be pressed into place and troweled immediately.
  8. The mix will set in 15 minutes and reach structural strength in approximately 60 minutes.

Application – For Thin or Large Surface Area Repairs

  1. Apply the material to the repair area using a trowel – or using a gloved hand!
  2. Because Pro-Mix All-Purpose Cement Mix is a feather edge material, it can simply be troweled smooth using a flat trowel.

Project Tip: Consider skim-coating the entire repair area as a final step to achieve a uniform appearance.

Finish

Put the finishing touches on the job.

  1. Take a pass over the repair using a paint brush (for small areas) or broom (for larger areas) to make the patch match the existing concrete.
  2. Make sure to only pull the broom in one direction – and only make a single pass to avoid over-working the patch.
  3. For large areas, consider immediately applying Sakrete Cure ‘N Seal to ensure proper cure. Otherwise, cover with plastic after the material has set and regularly mist to ensure a good cure.
  4. Allow to cure for 1 hour before opening to heavy traffic. Material reaches 3,000+ psi in an hour, more than strong enough for forklift traffic!
  5. Consider applying Sakrete Cure ‘N Seal or Concrete and Paver Sealer after the entire area after 28 days to protect the new patch – and entire structure – from future damage.

Project Tip: Applying Sakrete Cure ‘N Seal is an often-overlooked best practice that will ensure the best curing behavior of all concrete – including repair materials.

Alternate Products

Fast-Setting Cement Patcher

Deep Repairs, Solved