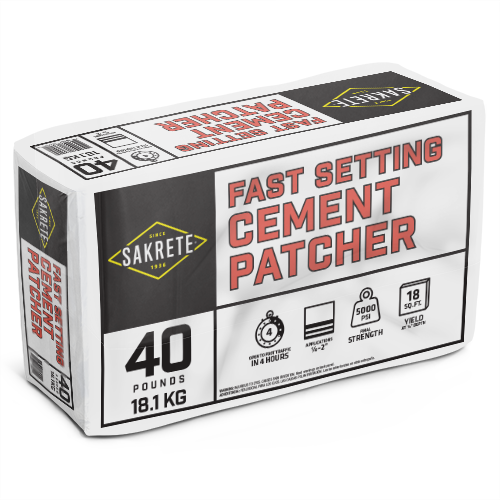
Products Used

Tools Needed
- Measuring Tool: Graduated Bucket, Measuring Cups, etc.
- Mixing bucket
- Latex or Nitrile Gloves
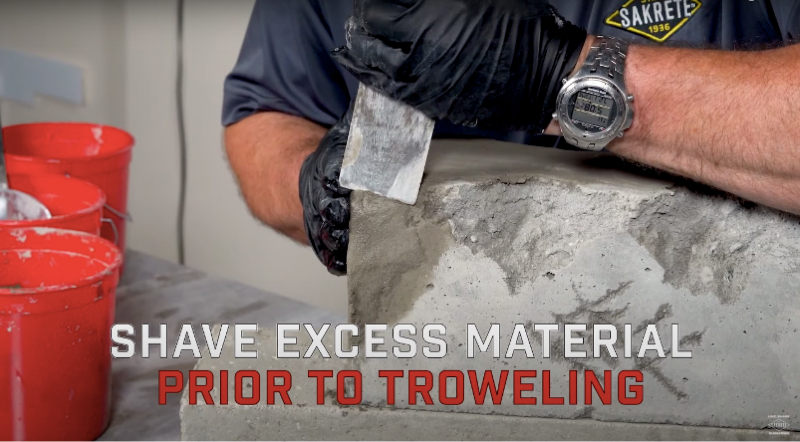
- Margin Trowel
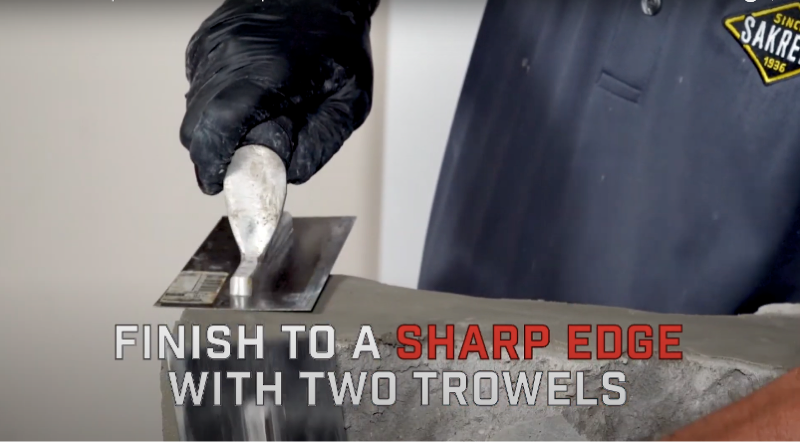
- 1 – 2x Flat Trowels
- Paintbrush or Broom for Finishing (depending on size of area)
Project Level: moderate
Project Length: 20 Minutes
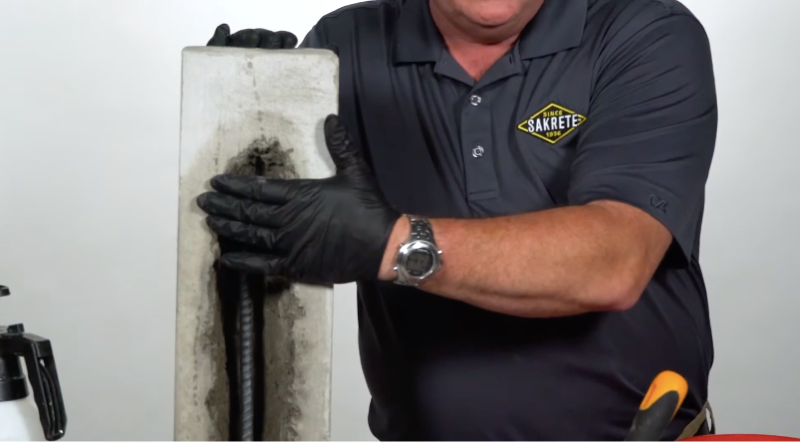
Project Guide – Repairing Industrial Beams and Columns
Precast columns can take a beating. Whether it’s forklifts getting a little too close to columns on the warehouse floor or oversized trucks taking a chunk out of a parking deck beam, it’s critical to be able to quickly patch, repair and smooth out damage.
Sakrete’s Pro-Mix lineup is the solution. With extended working time, ultra-fast structural strength and 7,000+ psi final strength, it’s the only mix you need to fix a wide range of damage from ¼” up to 6” deep – something few other mixes can boast.
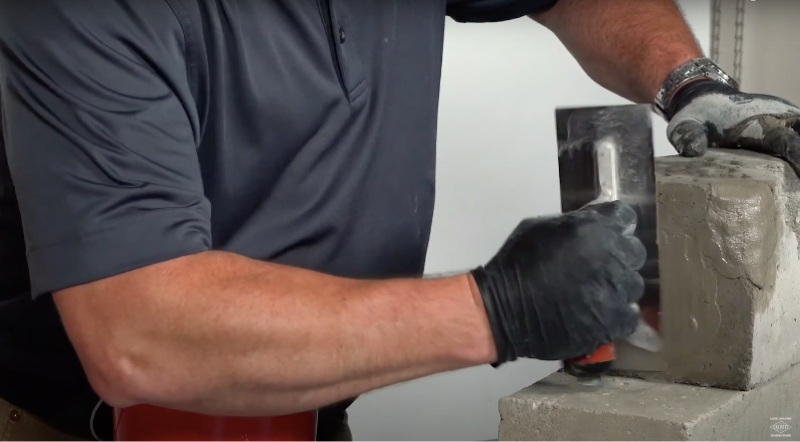
In this project guide, we’re going to demonstrate how to repair a column or beam – without forms – in minutes.
Project Tip: Always over-estimate when mixing by eye! It’s difficult if not impossible to mix another batch halfway through, especially when using fast-setting materials.
When working with Pro-Mix products, be sure to only mix as much as can be placed in 10 minutes. Don’t get cocky!
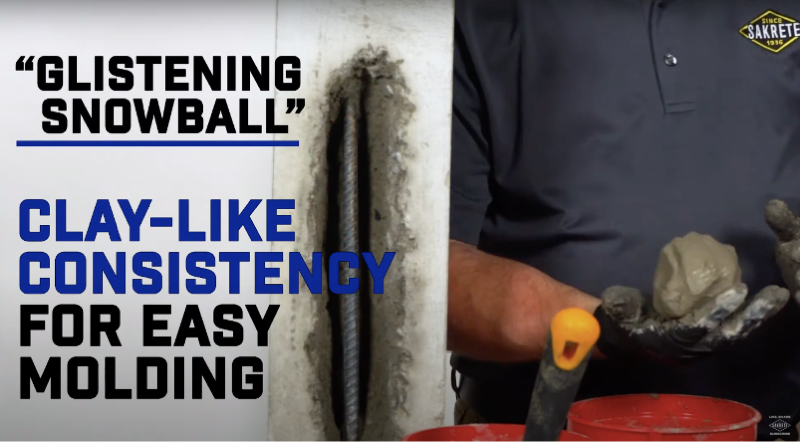
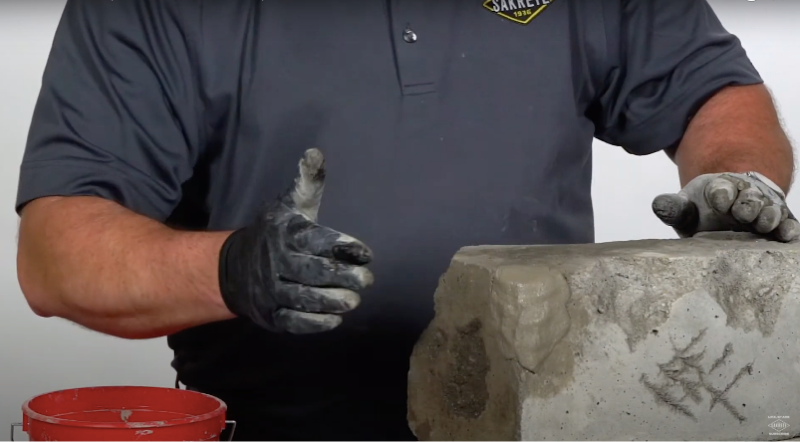
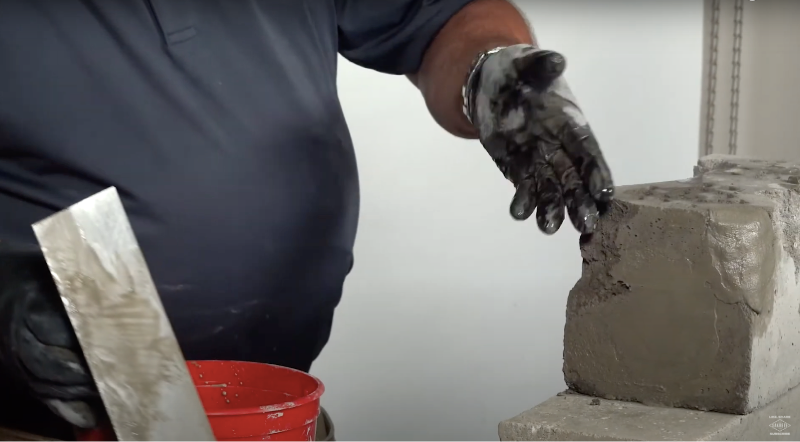
Project Tip: Mixing by hand is most convenient for small patches, especially when mixing to a firm consistency. Be sure to wear gloves!
When mixing to a “Glistening Snowball” consistency, application work is done by hand.
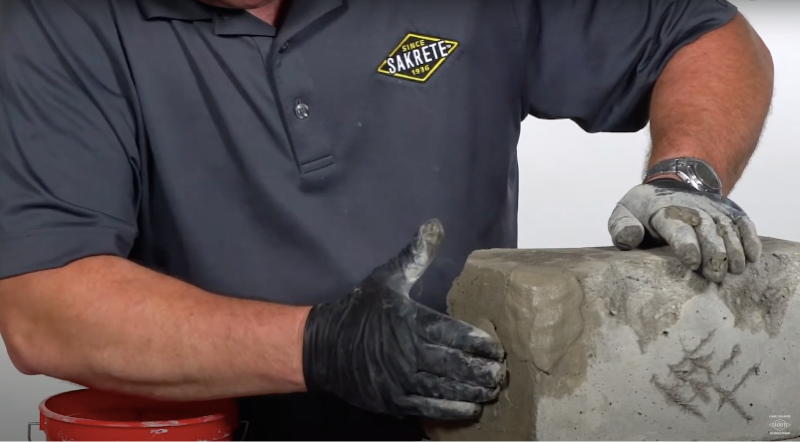
Project Tip: Consider skim-coating the entire repair area with Pro-Mix All-Purpose Cement as a final step to achieve a uniform appearance.
Put the finishing touches on the job.
Project Tip: Applying Sakrete Cure ‘N Seal is an often-overlooked best practice that will ensure the best curing behavior of all concrete – including repair materials
Enter An Email To Send These Results.